A piano is a large sound source. Strings, soundboard, lid, hammers, and room reflections all contribute. Two microphones do not simply photograph the keyboard; they record different combinations of those contributions.
Prepare the instrument and room
Check tuning and listen for pedal noise, bench squeaks, buzzing objects, and mechanical rattles. Record a quiet passage as well as a loud one, because noise hidden under strong chords may dominate a sparse introduction.
Arrange microphone stands so they cannot fall onto strings or obstruct the player. Use only suitable mounting methods and get the instrument owner's agreement before removing panels, attaching mounts, or changing lid arrangements. Do not place loose objects or drinks on the piano.
Decide whether the recording should sound like a listener in the room or a close contemporary production. That goal determines how much hammer detail and room sound you want, not merely how wide you pan the channels.
TRY IT HERE
Make it your session
Turn the steps into a plan you can save.
Ready when you are. Audio starts only when you press Play.
Keep experimenting in the sample pads LabUnderstand two practical stereo approaches
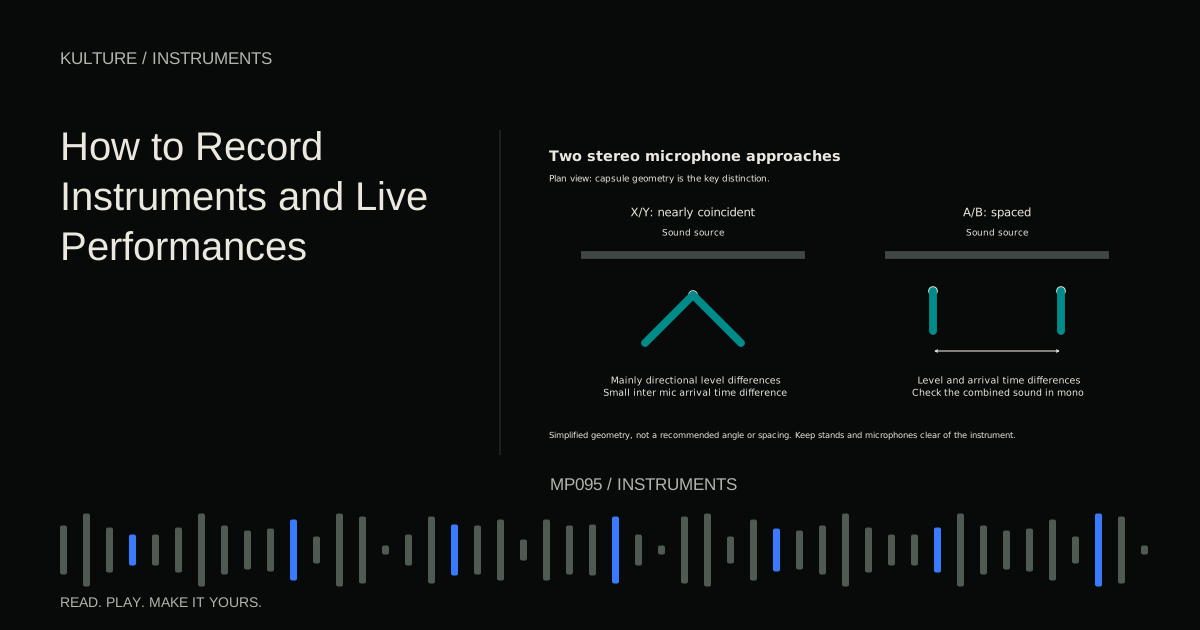
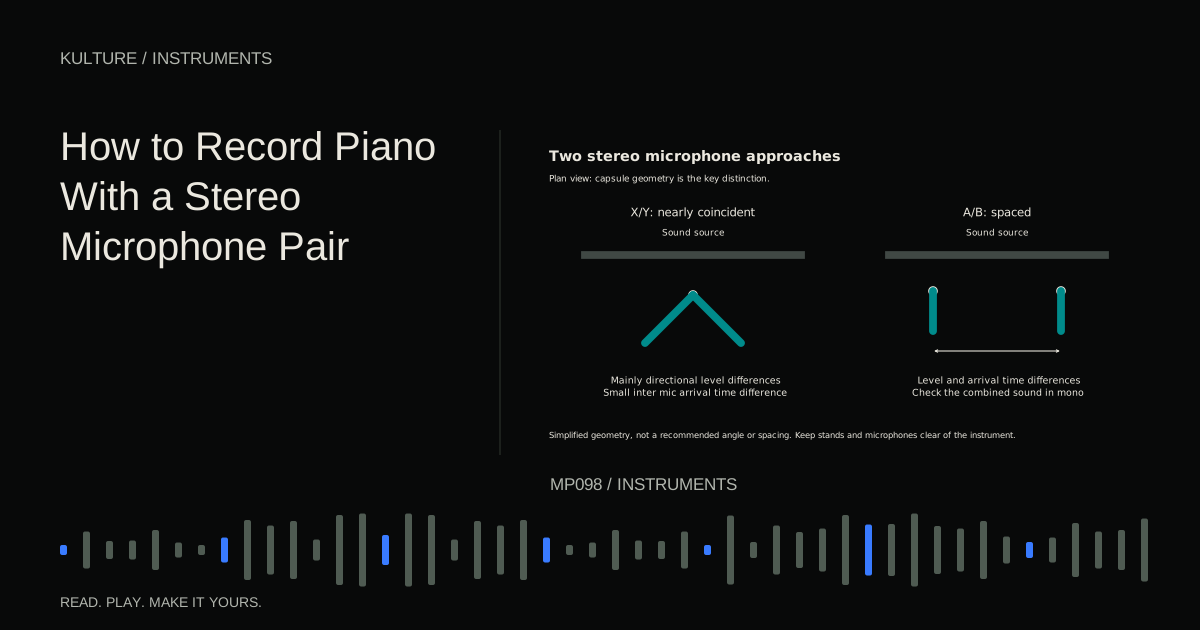
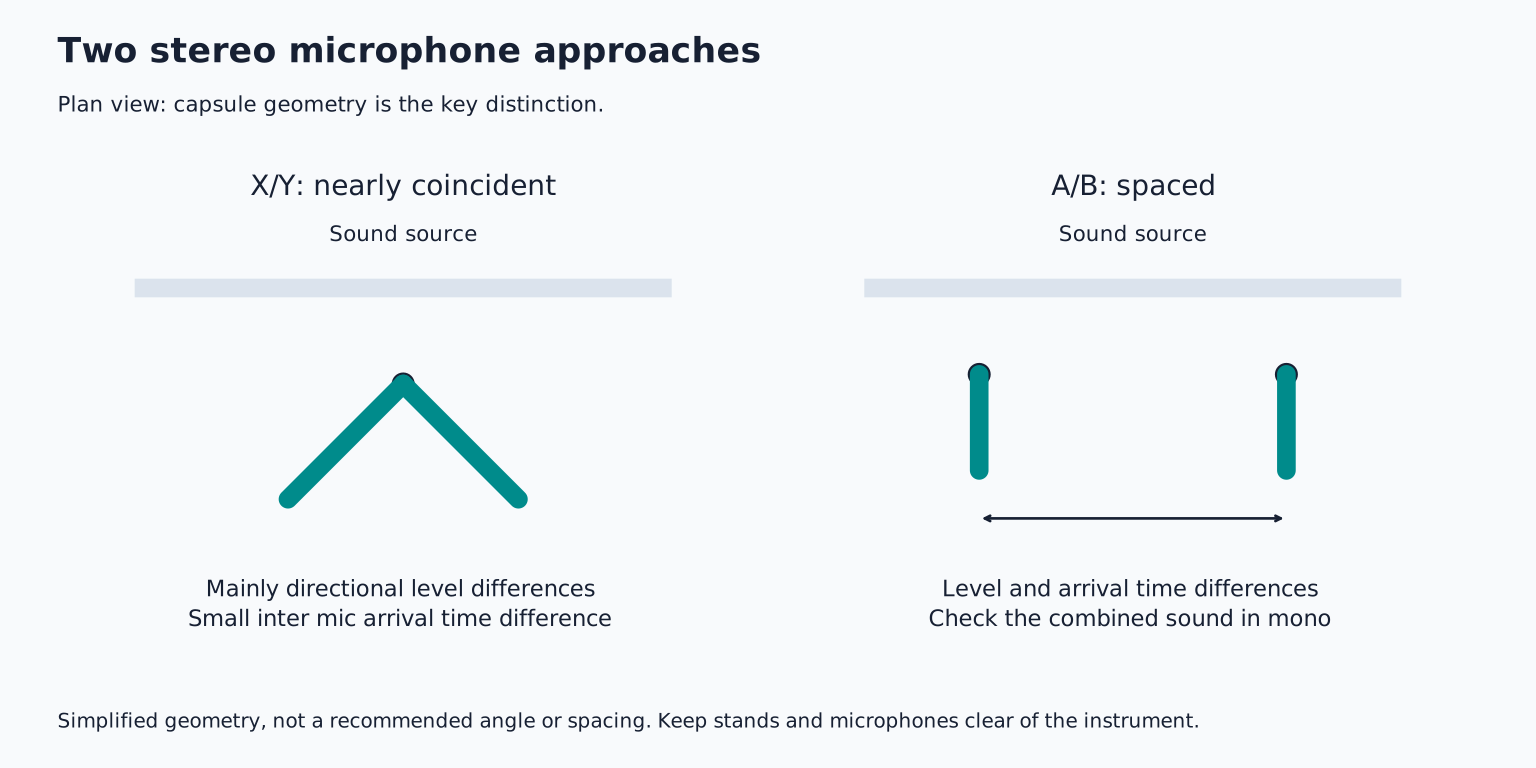
An X/Y pair uses two directional microphones with capsules as close together as practical, angled apart. It creates stereo mainly through level differences between directions. Because the capsules are nearly coincident, it avoids the large inter microphone arrival time differences of a widely spaced pair.
An A/B pair spaces microphones apart. It captures both level and timing differences and can create a broad image, but needs careful mono checking. More spacing does not automatically mean a better piano recording.
DPA's piano miking guide presents different approaches for isolated and live stage situations. Use those alternatives as evidence that placement depends on context rather than one mandatory configuration.
Start with a coherent picture of the whole piano
For a grand piano in a workable room, begin with a stereo pair outside or near the open side, far enough to hear a blended instrument. Move the pair as a unit while testing. Listen for evenness across low, middle, and high registers.
For a closer pop style sound, place the pair nearer the strings while keeping it safely clear of moving parts and the lid. A coincident pair can provide a manageable starting image. Adjust its aim and distance before widening the angle dramatically.
These are test strategies, not fixed coordinates. Piano dimensions, lid position, room size, microphone patterns, and the part being played change the best placement. A low repeated bass figure may expose a resonance that a midrange chord test misses.
Record a placement test that covers the music
Ask the player for four short examples: a low register pattern, middle register chords, a high melody, and the loudest passage from the piece. Include pedal use as it will occur in the performance.
Record the examples at the first position, then make one meaningful change: move the pair farther away, closer, higher, or toward another part of the instrument. Label the takes with that change. Match playback loudness before comparing.
Listen for a stable centre image, clear attacks, natural decays, and a believable relationship between registers. If the bass feels detached on one side and the melody detached on the other, reduce width or reconsider placement rather than assuming “stereo” requires extreme separation.
Close spaced microphones need careful balance
A common close approach uses one microphone favouring lower strings and another favouring higher strings. The challenge is the middle register, where the musical line often lives. If the microphones are too widely separated or too strongly aimed at extremes, the centre can feel weak.
DPA's piano sound field discussion explains why positions along the instrument capture different characteristics. The useful practical lesson is to listen across the keyboard, not tune each microphone to an isolated attractive note.
Try narrower panning as well as physical movement. A piano supporting a vocal may need less apparent width than a solo piano piece. Panning is part of arrangement; it need not reproduce the full span of the keyboard from the player's seat.
Check mono before committing
Sum the stereo channels to mono and compare at a reasonable matched level. Some change in spaciousness is expected, but important notes should not disappear or become radically hollow.
If the tone collapses, change spacing, angle, or distance and test again. A polarity reversal may reveal that the combination changes significantly, but it does not correct every time dependent phase relationship. Keep the microphones physically coherent rather than relying on a switch as a universal repair.
Do not automatically align the two channels' waveforms by eye. Their timing differences may be part of the intended stereo image, and a piano contains many simultaneous sources. Aligning one hammer attack can change the rest of the instrument unpredictably.
Upright pianos need their own exploration
An upright's soundboard and panels create different access and radiation patterns from a grand. Try a pair above the instrument or behind it where space and access allow, listening for both tonal balance and mechanical noise.
A wall close behind the piano can strongly affect the sound. Moving the piano is a physical and instrument care task; use appropriate help and do not drag it casually to follow a recording tip. If moving it is not practical, adjust microphone position and the surrounding room treatment within safe limits.
Removing panels can expose more direct sound and mechanical action, but obtain permission and understand the instrument first. More access does not automatically produce a more natural tone.
Set matched channels without ignoring real differences
Use appropriate mic inputs and follow the microphones' power requirements. If using a matched pair, similar gain settings are a sensible starting point, but verify levels with the instrument. The two positions may receive different energy.
Leave headroom for strong transients, the brief attacks at the start of notes. A piano's loudest accents can exceed a gentle soundcheck substantially. Record a test and listen for overload at the mic or input, not only for a red meter.
Name channels clearly and preserve their relationship. If one microphone faces the bass side, document that fact. Decide whether the stereo perspective is from the player or audience viewpoint, and keep it consistent through the project.
Edit and mix the pair together
Group the channels for timing edits. Move corresponding boundaries together so the stereo relationship does not jump. Retain pedal and room decays where they connect phrases; chopping at every bar line can destroy the piano's continuity.
Begin mixing with level and width. Add EQ only after choosing a useful placement. A narrow resonance may need attention, but avoid applying radically different processing to left and right without checking whether the image shifts.
For practice, record the same one minute piece with a close pair and a more distant pair, using the same two microphones in separate takes. Compare in stereo and mono. Choose based on the piece's role, then continue with recording instruments and live performances to plan a piano session alongside other musicians.
TAKE IT INTO YOUR OWN MUSIC
Your next session.
An X/Y pair uses two directional microphones with capsules as close together as practical, angled apart. It creates stereo mainly through level differences between directions. Because the capsules are nearly coincident, it avoids the large inter microphone arrival time differences of a widely spaced pair.
Notes and progress stay in this browser.