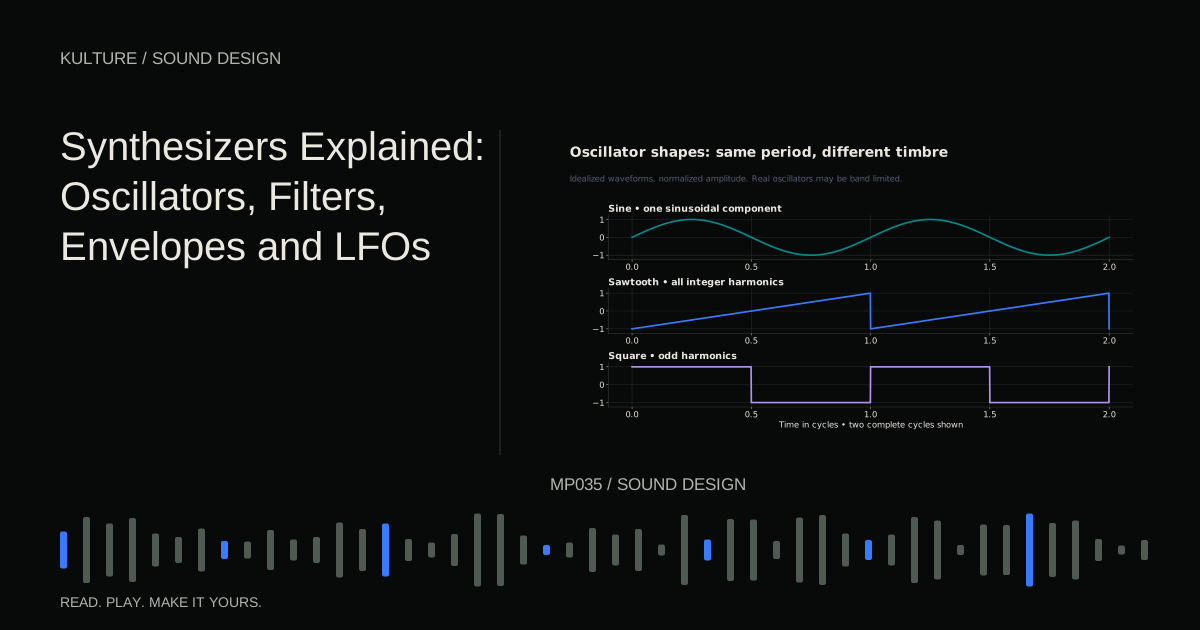
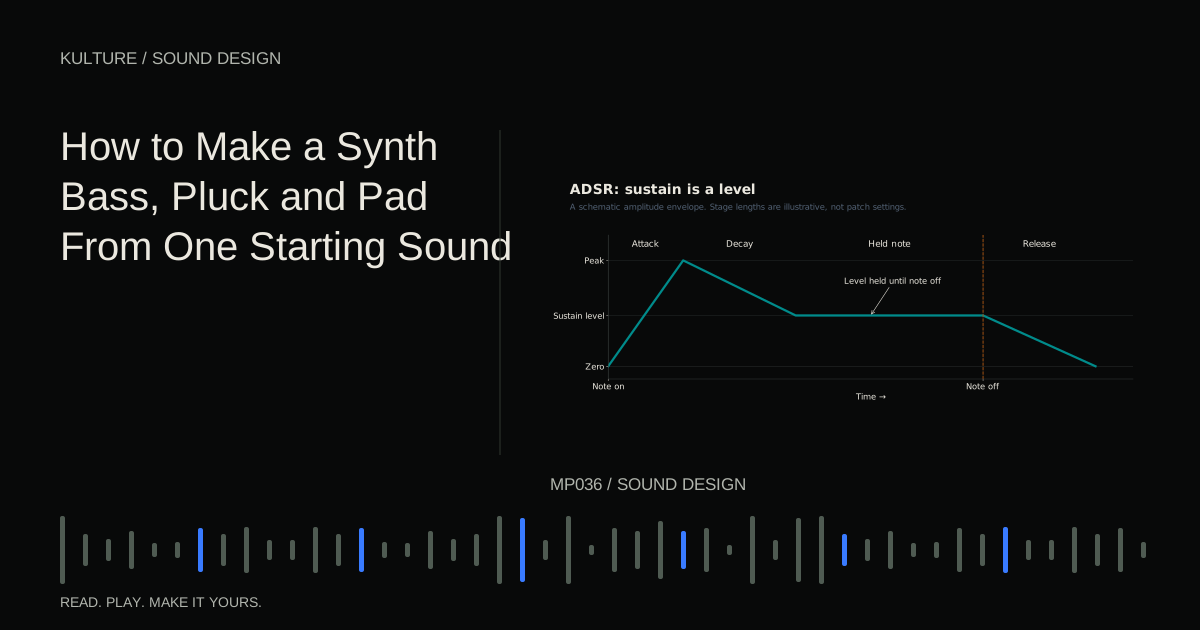
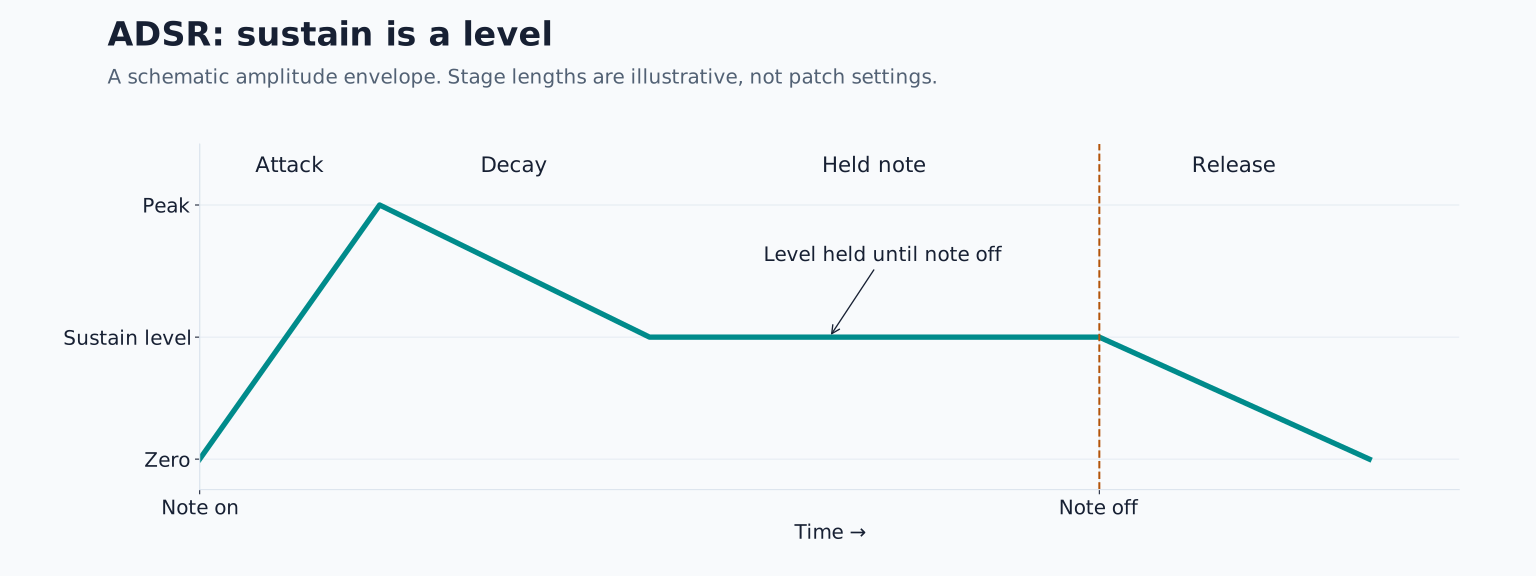
Use any subtractive synthesizer with a sawtooth oscillator, low pass filter, amplitude envelope and filter envelope. The values below are deliberate starting points for comparison. Different synths interpret envelope curves and modulation amounts differently, so follow the listening tests rather than chasing identical numbers.
Create a neutral starting patch
Initialize the instrument. Select one sawtooth oscillator. Turn off extra oscillators, unison, distortion, delay and reverb. Open the filter, set resonance low and set the amplitude envelope to a short attack, full sustain and a short release. Save this as your starting patch.
If those controls are unfamiliar, first read oscillators, filters, envelopes and LFOs. Ableton’s Learning Synths also lets you hear basic envelope and filtering changes without choosing a particular desktop synthesizer.
Make a two bar loop at 100 BPM. In bar one, use C, C, E flat and G; in bar two, use B flat, G, E flat and C. Put one note on each beat. Begin with quarter note spacing and eighth note lengths. Note names are enough for the exercise; octave labels differ between programs, so choose a comfortable middle register first.
Duplicate the instrument onto three tracks, but listen to only one at a time while designing it. Keep the unused tracks muted. Three loud copies are not an informative comparison.
TRY IT HERE
Shape one sound
Compare the attack, tail and filter on the same note.
Ready when you are. Audio starts only when you press Play.
Keep experimenting in the synth LabVersion one: a bass that leaves room
Move the first copy down into a bass register. If your synth displays MIDI note numbers, C at note 36 is a useful starting reference; it is approximately 65.4 Hz under standard concert tuning. Your program may give that note a different octave name from another program.
Close the low pass filter until the saw loses some buzz but remains identifiable. Try an amplitude attack of 5 milliseconds, decay of 200 milliseconds, sustain around half level and release of 70 milliseconds. This should give you a defined beginning, a quieter held portion and a reasonably short ending.
Listen to the gaps. If the bass runs across every gap, reduce release or shorten the MIDI notes. If it clicks, a slightly longer attack or release may help. A click can also come from oscillator phase reset or a discontinuous sample; do not assume every click is solved by the same envelope adjustment.
Choose monophonic operation if you want only one bass note at a time. Keep glide off initially. Glide moves pitch between notes and can be expressive, but it makes it harder to judge whether the basic patch is tuned and articulated correctly.
Add a small positive filter envelope amount, with a quick attack and a decay near 150 milliseconds. The target is a slightly brighter beginning followed by a darker body. If every note sounds like a dramatic vowel sweep, reduce the envelope amount. If the bass vanishes on small playback devices, preserve some upper harmonics rather than simply increasing sub bass level.
Version two: a pluck with a clear ending
Return to the middle register for the second copy. Set amplitude attack near 2 milliseconds, decay around 250 milliseconds, sustain to zero and release near 80 milliseconds. Hold a long note to test it. The sound should fade during the held note because sustain is zero.
Use a low pass filter that is fairly dark at rest. Give its envelope a positive amount and a shorter decay than the amplitude envelope. For example, compare 100 milliseconds of filter decay against 250 milliseconds of amplitude decay. You are trying to hear brightness disappear before loudness does.
Now play the original loop. If the pluck feels tiny, first increase decay a little. Adding reverb immediately can disguise a poorly shaped dry note. If it is sharp but hollow afterward, raise the resting cutoff or reduce the difference between the initial and resting brightness.
Velocity is the MIDI instruction commonly used to represent how strongly a note is played. If your synth supports velocity routing, connect a modest amount to filter envelope depth or cutoff. Alternate quieter and stronger velocities. A convincing pluck often needs a change in tone as well as a change in loudness.
Leave room for the musical phrase. At 100 BPM a quarter note lasts 600 milliseconds and an eighth note lasts 300 milliseconds. A 900 millisecond pluck will overlap several events in this example. That may be attractive, but it is a different rhythmic result.
Version three: a pad that supports chords
For the third copy, replace the single note phrase with two sustained chords. In bar one use C, E flat and G; in bar two use B flat, D and F. Put the notes in a middle register and avoid doubling a very low root initially.
Enable enough polyphony for all chord notes and their releases. Try an amplitude attack near 700 milliseconds, full sustain and a release near one second. Open the filter enough to hear the chord clearly, then use a shallow, slow cutoff movement if available.
The pad should grow into the chord and bridge its ending. If the second chord becomes cloudy, shorten the release or shorten the first chord’s MIDI notes before the change. The release of one harmony can overlap the next even when the piano roll blocks do not overlap.
You can now add a small amount of unison or chorus for width. Compare in mono afterward. Width that makes the pad impressive alone can weaken its useful centre or obscure other instruments. Keep the first version relatively narrow so the change remains easy to evaluate.
Put the three roles together
Unmute the bass and pad first. Lower both until their combined sound is comfortable and unclipped. If they compete, move the pad upward or remove its lowest note before applying EQ. Add the pluck last and decide whether it carries the main melody or merely adds rhythmic detail.
Do not let all three voices play the same rhythm by default. Try bass notes on beats one and three, a pad held across each bar, and plucks on the offbeats. You have separated them in time as well as pitch.
Save three named patches and write one sentence describing each envelope. For a final exercise, swap only the envelopes between bass and pad. Hearing the same oscillator change roles will make synthesis less mysterious. Next, learn how to layer synth sounds without mud so these patches can coexist in an arrangement.
TAKE IT INTO YOUR OWN MUSIC
Your next session.
Unmute the bass and pad first. Lower both until their combined sound is comfortable and unclipped. If they compete, move the pad upward or remove its lowest note before applying EQ. Add the pluck last and decide whether it carries the main melody or merely adds rhythmic detail.
Notes and progress stay in this browser.