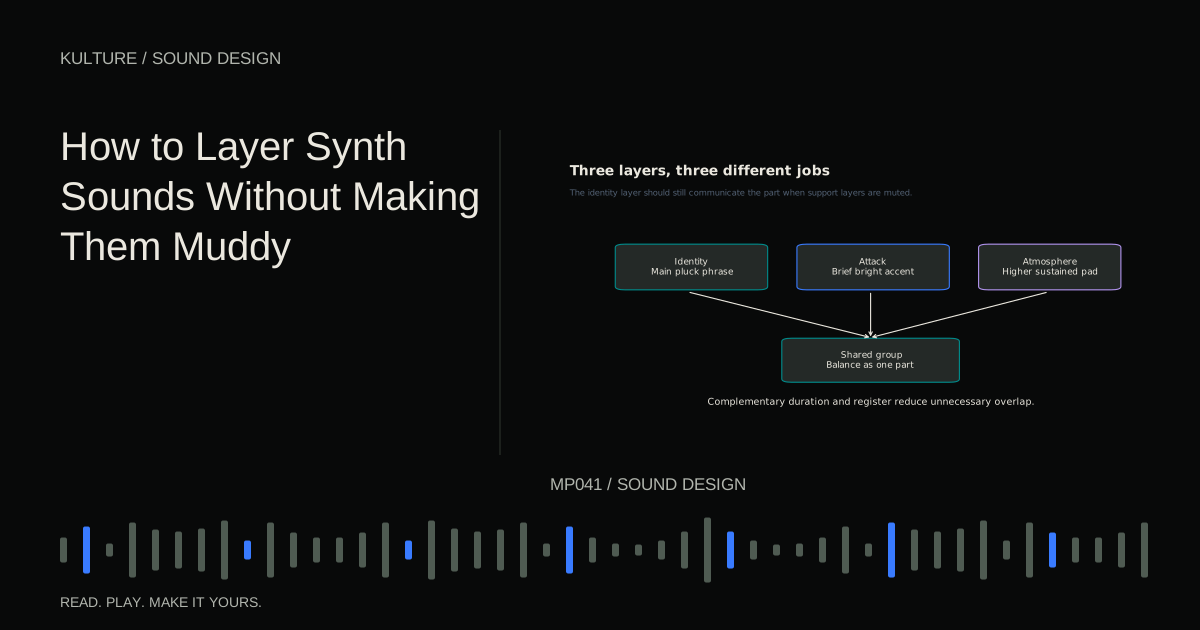
Start by naming the missing quality. “This lead needs a sharper beginning” is a better instruction than “this lead needs more layers.” You can then choose a sound that solves that particular problem and stop when the problem is solved.
Decide which layer owns the idea
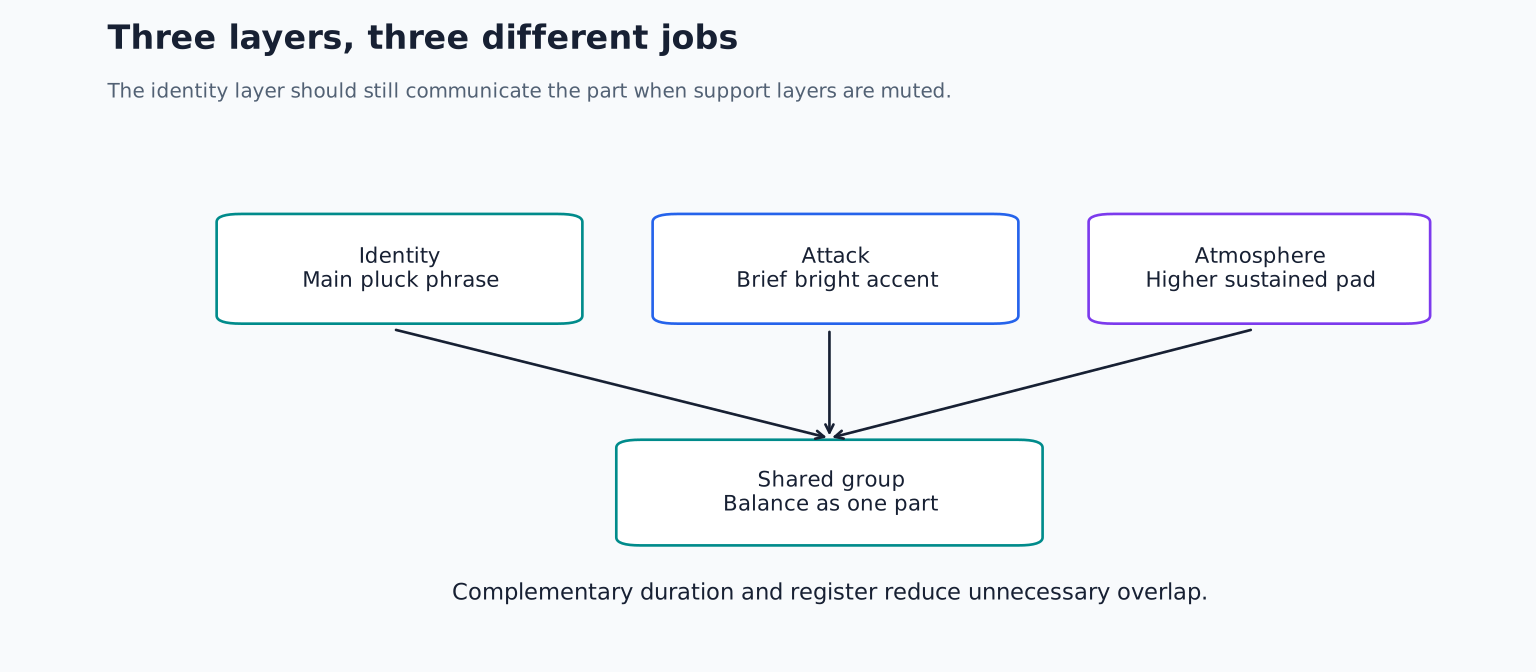
Pick a main patch and write a short phrase before adding anything else. This is the identity layer: if you mute the other sounds, the listener should still recognize the part. A support layer is allowed to sound incomplete by itself.
For a practical example, create a two bar phrase at 105 BPM using C, E flat, G and B flat in a middle register. Play C on beat one, E flat on beat two and, G on beat three and B flat on beat four and. Repeat the rhythm in the second bar, ending on G.
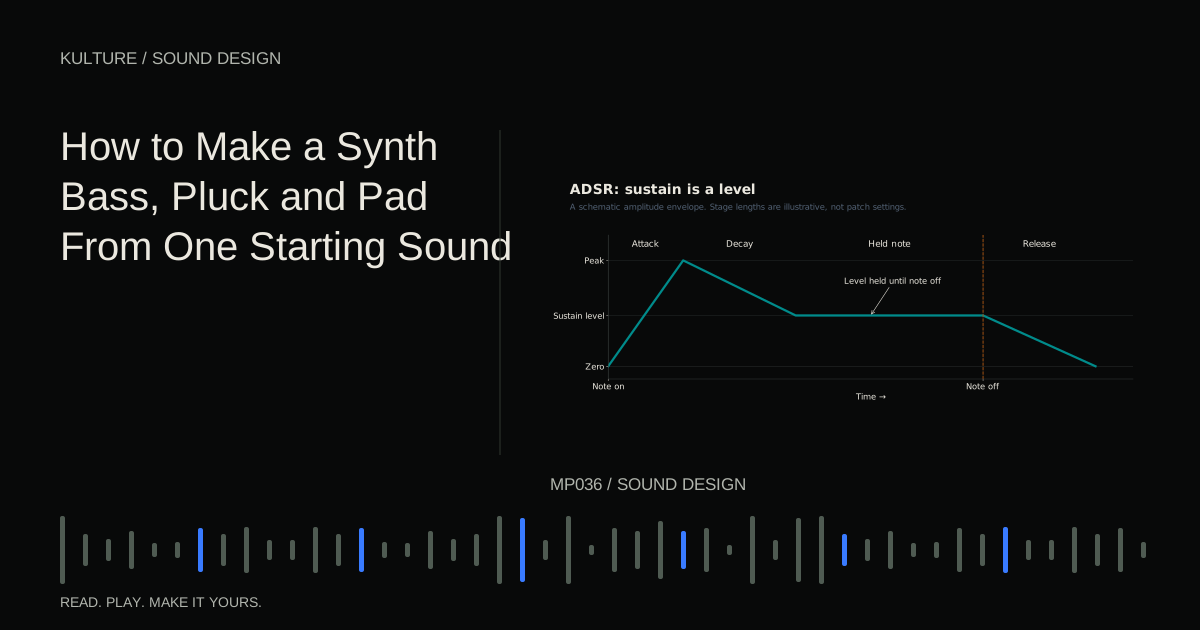
Use a moderately dark saw based pluck for the main sound. If needed, build one using the bass, pluck and pad exercise. Keep its reverb disabled initially. A dry phrase makes it easier to hear whether another layer adds articulation or merely length.
TRY IT HERE
Find the frequency
Move a bell filter through a harmonic tone and compare bypass.
Ready when you are. Audio starts only when you press Play.
Keep experimenting in the synth LabAdd an attack rather than another complete lead
Create a second synth playing the same MIDI notes. Use a brighter tone with zero sustain and a very short decay, around 60 milliseconds as a starting experiment. Lower its level until it is barely audible, then raise it only until the phrase’s front edge becomes easier to follow.
Mute the main layer. The attack layer may sound thin or unimpressive alone. That is fine: its job is a brief event, not a complete instrument. If it adds excessive fizz between notes, shorten its decay or release before cutting large amounts of EQ.
Now alternate between the combined sound and the main layer alone. Match their overall perceived loudness as closely as practical. Adding a layer almost always adds level, so a louder comparison can disguise an unhelpful tonal change.
If the two beginnings feel smeared, inspect timing and envelopes. One patch may have a slow attack, a delayed effect or a sample with silence at the start. Align the audible intention rather than blindly aligning MIDI blocks.
Give the sustained layer a different register
For a third layer, use a soft pad above the main phrase instead of duplicating every low note. Hold C, E flat and G as a chord for the first bar, then B flat, D and F for the second. Keep the pad’s lowest note above the bass part you intend to add later.
This changes both register and rhythm. The pluck provides movement; the pad provides continuity. You are no longer asking EQ to separate two nearly identical patterns.
Set the pad release so one chord does not obscure the next. If it does, shorten the release or leave a small gap before the chord change. A filter cut can reduce thickness, but it cannot remove the harmonic conflict caused by the previous chord continuing too long.
Move the pad up an octave and compare before changing its tone. Octave placement often solves a crowded arrangement more naturally than extreme filtering. If it becomes too bright or sentimental for the track, try changing the chord voicing rather than returning every note to the original low register.
Use filtering to define boundaries
After arrangement and envelope decisions, use EQ or the synth’s own filter to remove genuinely unnecessary overlap. A high pass filter on an attack layer may reduce low content that contributes nothing to the attack. It should not automatically be placed on every layer at the same frequency.
Listen in context while raising the cutoff. Stop before the combined part loses useful weight, then compare bypassed and active at similar level. If the effect is hard to judge, temporarily solo the layer to understand what is changing, then return to the full sound for the decision.
Do not force perfectly non overlapping frequency bands. Real instruments overlap, and complementary layers can too. The objective is a clear combined gesture, not a spectrum divided into isolated boxes. iZotope’s discussion of muddy sound provides additional context on how sustained material can accumulate and obscure other parts.
Keep the centre dependable
A wide pad can support a narrow lead, but adding identical copies panned left and right does not necessarily create meaningful width. If the copies are exactly the same and remain synchronized, they mainly reinforce the same signal.
Delays, detuning and modulation create differences between channels, but those differences can change when the mix is summed to mono. Check the combined sound in mono using a proper mono sum control. If the main melody weakens dramatically, reduce the widening or keep an untreated identity layer in the centre.
Be especially cautious with multiple low frequency layers. Slight tuning differences create beating, a repeated rise and fall caused by their interference. That may be attractive in a pad but unstable in a bass foundation. Try one clear low layer and place the animated layer higher.
Route the layers as one playable part
Send the layers to a common group or bus so their combined level can be adjusted together. Preserve the relative balance you established. If you add a shared compressor, check whether the loud attack layer causes the whole group to dip in an unwanted way.
A shared reverb can make separate sources feel related. Send only as much attack layer as needed; too much reverb on a short accent can fill the gaps you worked to create. Learn the routing distinction in inserts, sends, returns and buses.
Test whether every layer earns its place
Play the part with the rest of the arrangement and mute one support layer at a time. Ask what musical function disappears. If you cannot identify a useful difference, remove that layer or save it as an alternative instead of leaving it active.
For practice, build a three layer sound with a strict assignment: identity, attack and atmosphere. Then make a second version using only two layers and compare. The stronger version is the one that communicates the phrase more clearly, not the one with more tracks. If the result still feels cloudy, continue with why a mix sounds muddy.
TAKE IT INTO YOUR OWN MUSIC
Your next session.
Play the part with the rest of the arrangement and mute one support layer at a time. Ask what musical function disappears. If you cannot identify a useful difference, remove that layer or save it as an alternative instead of leaving it active.
Notes and progress stay in this browser.