Use it when you have a specific stereo problem: a wide reverb is too bright, the stereo low end is distracting, or the centre needs a small tonal adjustment without changing the surrounding texture as much. Start on one stereo track before trying broad changes on a finished mix.
Understand the sum and difference
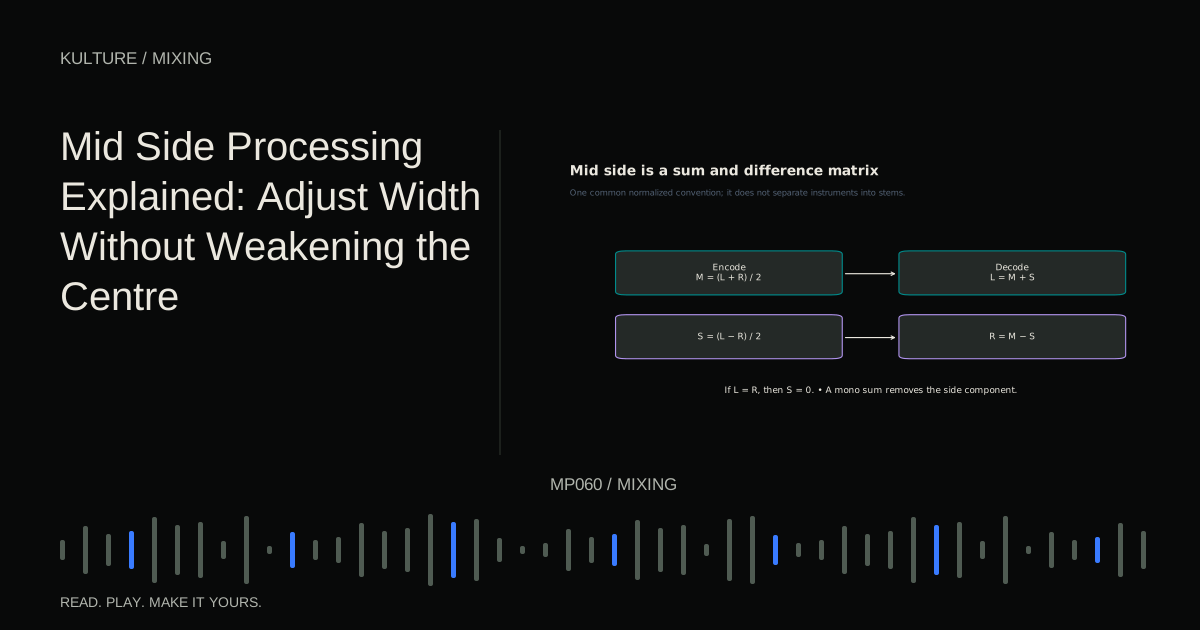
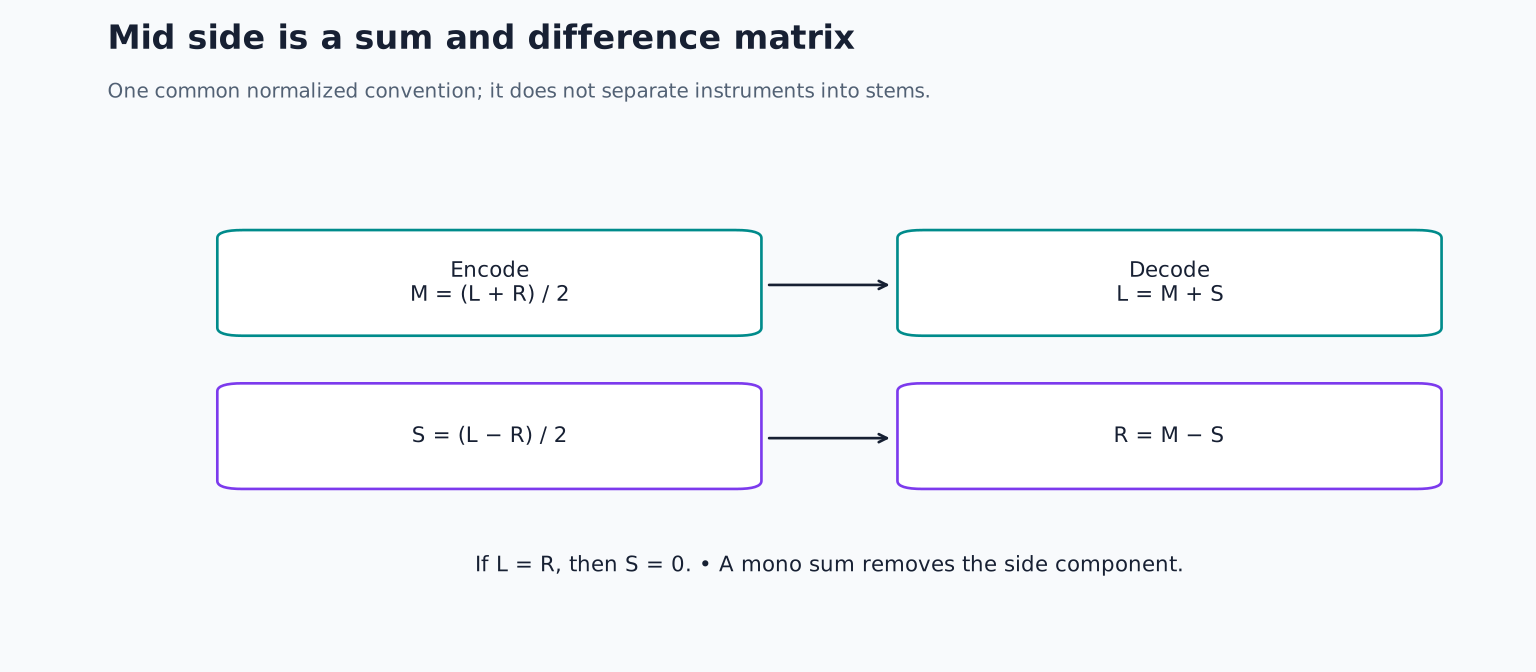
A simple mid side encoding uses mid as the sum of left and right and side as their difference, with scaling applied according to the implementation. One common normalized form is M = (L + R) / 2 and S = (L: R) / 2. Decoding gives L = M + S and R = M: S.
If the left and right channels are identical, the side signal is zero. If they differ, some information appears in the side signal. A sound panned partly or fully to one side can contribute to both encoded channels; “mid” does not mean a clean stem containing only centred instruments.
Similarly, a centred lead with stereo reverb can appear strongly in mid through its dry component and in side through its reflections. Processing sides may therefore affect the lead’s space even if its dry core remains unchanged.
TRY IT HERE
Check the centre
Hear what happens when opposite polarity signals are summed.
Ready when you are. Audio starts only when you press Play.
Keep experimenting in the synth LabHear the channels before changing them
Use a stereo pad or a recorded stereo instrument. Insert a processor with mid side audition capability. Listen briefly to mid, then side, then the normal decoded stereo result.
The side audition may sound strange, thin or incomplete. That is expected: it is a difference signal, not a normal stereo mix. Do not judge it as though it should sound attractive alone.
FabFilter’s stereo options documentation describes per band stereo placement, including mid and side EQ. The exact controls and gain scaling depend on the processor, so follow its manual rather than manually routing a matrix unless you understand the implementation.
Build a predictable test signal
Create a mono pluck playing C, E flat, G and B flat as quarter notes at 100 BPM. Keep the dry pluck centred. Send a small amount to a stereo reverb, then route dry and wet to a common stereo group for this exercise.
Listen to the group in mid side audition. The centred dry signal should be prominent in mid. The stereo reverb can contribute to both mid and side depending on its channel relationships.
Now lower side gain slightly while listening to the normal stereo output. The group should become less spacious without necessarily turning down the dry pluck by the same amount. Restore the setting, then raise side gain modestly and compare.
Compensate for overall level changes. A wider and louder result can seem better for reasons unrelated to the intended spatial adjustment.
Adjust a wide texture’s tone
Suppose the reverb makes the group’s edges feel too bright while the dry pluck is already clear. Try a gentle side only high shelf reduction. Begin with a small amount and listen to whether the space becomes less distracting.
Compare that with a normal stereo high shelf reduction. The stereo version changes the dry pluck more directly, while the side only version focuses on the difference component. Neither is automatically correct; the better choice depends on what you wanted to preserve.
If the reverb is on its own return, processing that return directly may be even simpler and more precise. Mid side is most useful when the wanted information is already combined or when the stereo distinction itself is the target.
Be cautious with low frequency width
A side only high pass filter can reduce low frequency difference information. This can make a stereo foundation feel more stable, but it is not a mandatory step for every mix. The cutoff and slope must follow the actual material.
Raise the cutoff gradually while listening to the full arrangement. If the bass loses useful character or a stereo instrument becomes oddly thin, back off. A wide low instrument may contain musical information you did not intend to remove.
Check mono before and after. In an ideal linear encode process decode path, a side only change cancels out of the mono sum, so it does not directly repair missing mid information. If a lead was already disappearing in mono, simply reducing sides may make the stereo version resemble the mono version more closely without restoring the lost core.
That is why mono compatibility must be diagnosed at the source rather than treated as a universal mid side EQ problem.
Understand what a mid cut can affect
A mid only low mid cut on a full mix may reduce the centre’s thickness, but it can also alter vocal body, kick, bass and other shared information simultaneously. It is not equivalent to turning down one muddy instrument.
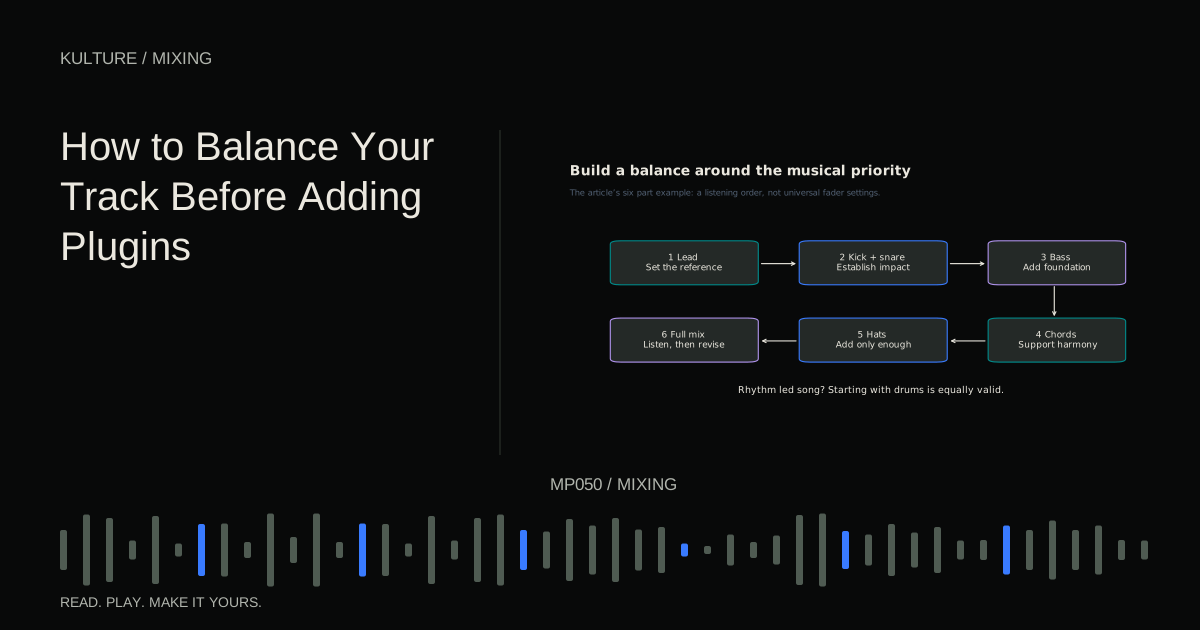
If you still have the multitrack session, correct the specific source when possible. Mid side processing on the stereo bus is a broad tool; small moves can affect several musical relationships at once.
Likewise, boosting mid presence can make a centred vocal more apparent but also emphasize snare or guitar energy in the same region. Listen to every section where those sources behave differently before keeping the change.
Avoid width without a foundation
Raising side level can create a more spacious impression, but excessive side dominance may leave the centre feeling weak. It also changes the relationship between stereo and mono playback, since side information does not survive a mono sum in the same way.
Do not judge width only on headphones. Check speakers when available and keep essential musical information dependable. A narrow verse followed by a moderately wider chorus can be more effective than maximum width throughout.
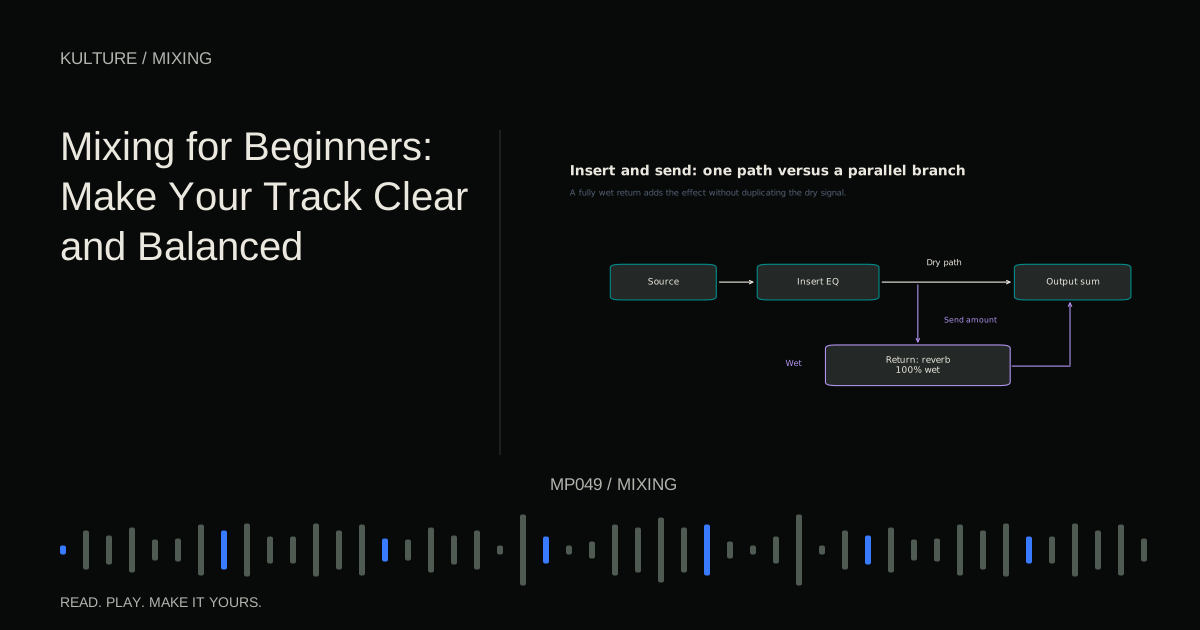
For practice, make one side only tonal change and one small mid only change on the test group. Write down exactly what each affects, then compare with processing the dry and reverb tracks directly. Keep the method that solves the problem most clearly. Continue with inserts, sends and buses if routing the test group reveals gaps in your signal flow understanding.
TAKE IT INTO YOUR OWN MUSIC
Your next session.
Raising side level can create a more spacious impression, but excessive side dominance may leave the centre feeling weak. It also changes the relationship between stereo and mono playback, since side information does not survive a mono sum in the same way.
Notes and progress stay in this browser.