Start by asking what kind of life is absent: rhythmic expression, impact, tonal variation, depth or section to section development. These are different dimensions, and each suggests a different change.
Compare the arrangement before the processing
Play the verse and chorus back to back. Does anything meaningful change besides the number of tracks? A chorus can contain more sounds yet feel no bigger if all its parts compete in the same register and the lead loses focus.
Try removing one sustained layer from the verse, shortening its notes or reserving an upper harmony for the chorus. This creates contrast without demanding a large output level jump.
For an instrumental loop, decide where the phrase begins, peaks and relaxes. If every bar repeats without variation, the mix may be accurately presenting a static arrangement. No compressor can invent a compelling phrase structure on its own.
iZotope’s discussion of over processing is a useful reminder that additional processing can reduce clarity and focus. Diagnose what is missing before adding another stage.
TRY IT HERE
Start with the faders
Balance an original drum, bass and chord loop.
Ready when you are. Audio starts only when you press Play.
Keep experimenting in the synth LabRestore variation in the performance
Create a two bar pluck pattern at 100 BPM in 4/4. In each bar, play C, E flat, G and B flat twice as consecutive eighth notes: C, E flat, G, B flat, C, E flat, G, B flat. Start with identical velocities and note lengths. Listen to how uniform it feels.
Now accent the first and fifth notes of each bar, make a few connecting notes quieter and shorten the final note before the loop restarts. If the instrument responds to velocity with tone changes, keep those changes modest enough to remain one coherent part.
The result does not need random timing offsets to feel alive. Deliberate accents and articulation already create hierarchy. Randomization without a musical purpose can make a pattern less convincing rather than more human.
Apply the same idea to drums. A quieter offbeat hat or a slightly stronger backbeat can create a clearer groove. Do not change every hit just to avoid repetition; repetition is often part of the style.
Check whether transients have been flattened
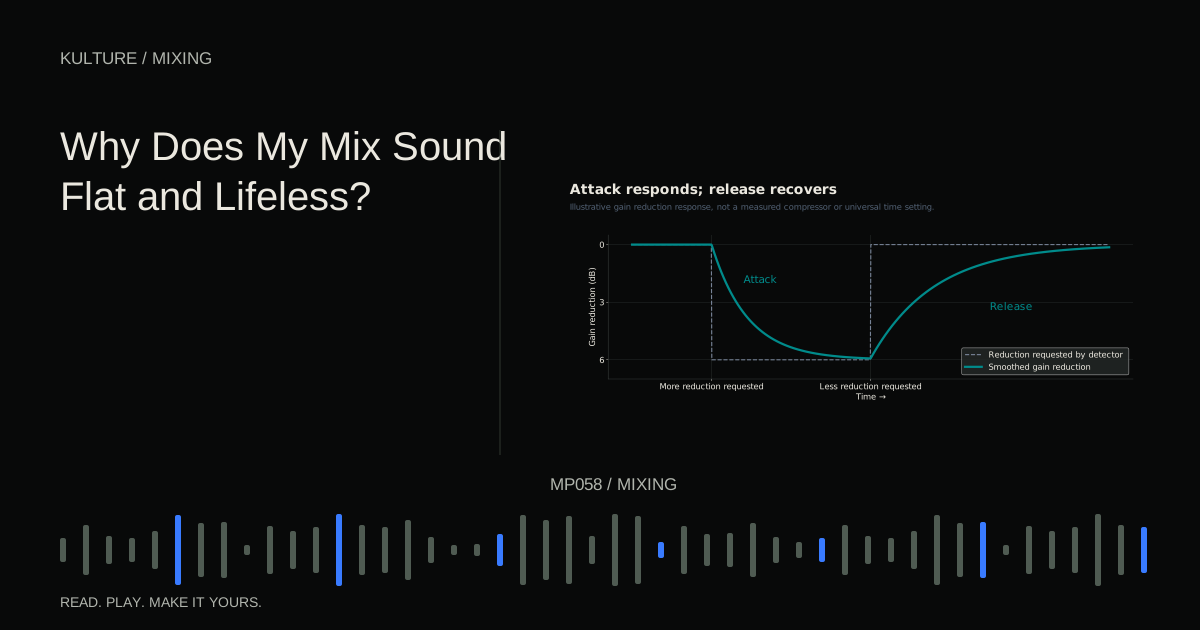
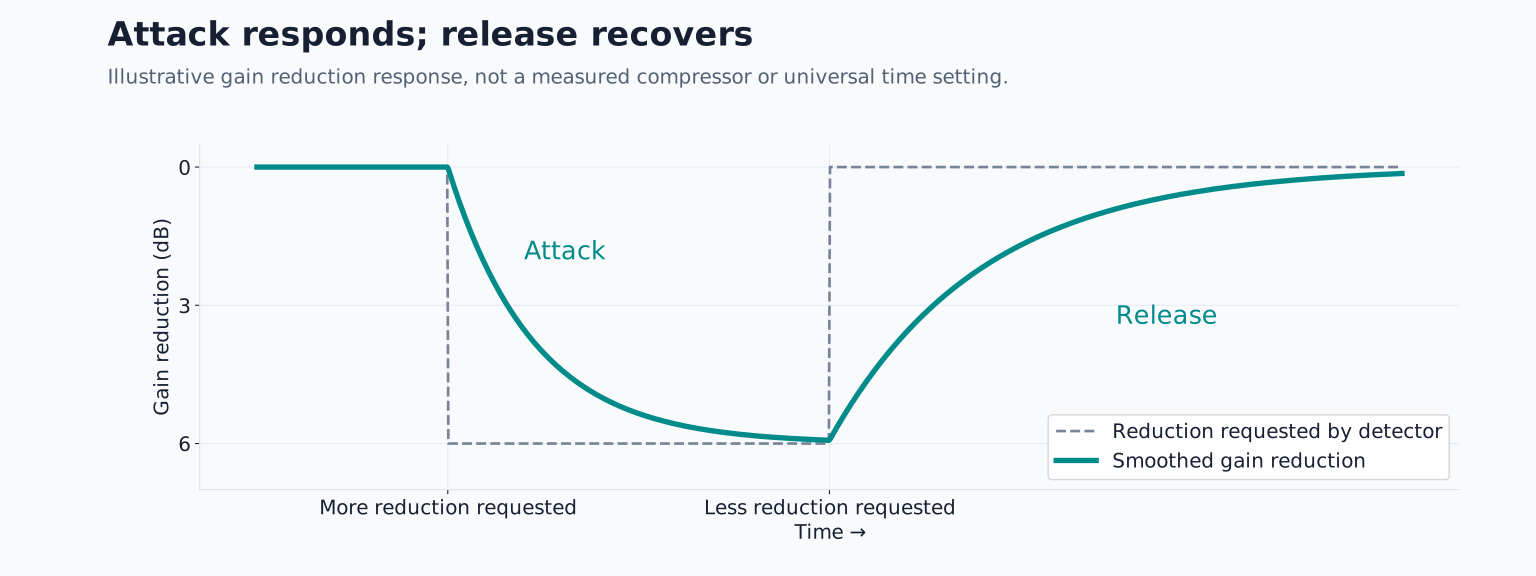
A transient is the brief beginning of a sound. It helps communicate a drum strike, pluck or consonant. Heavy compression, clipping or limiting can reduce the contrast between that beginning and the sustained body.
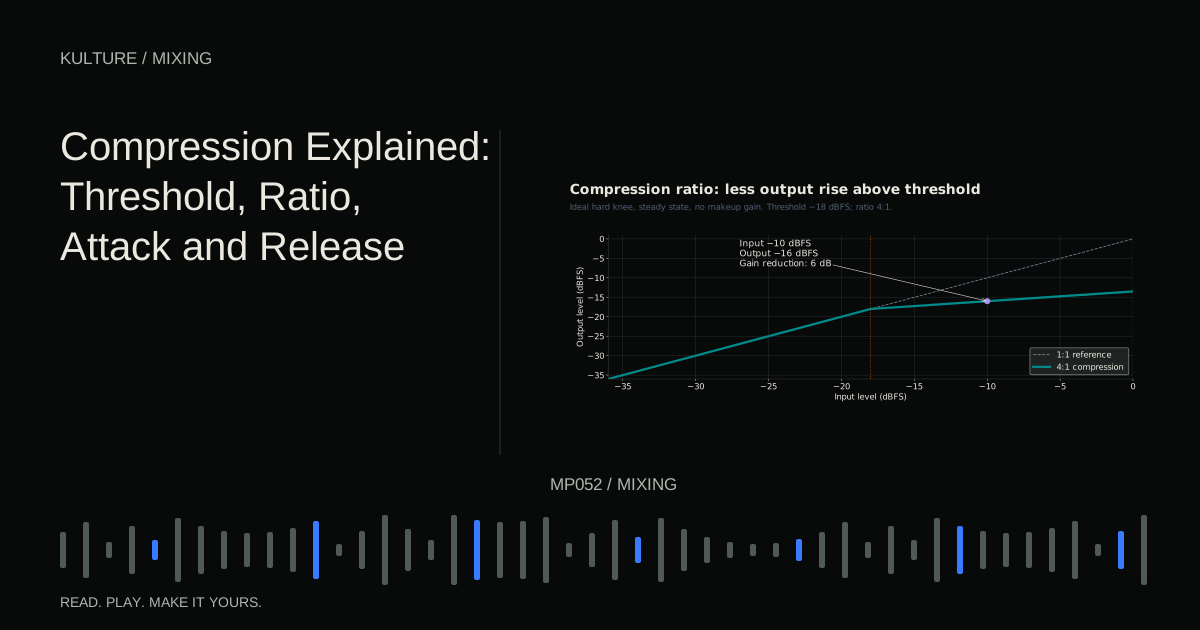
Bypass the relevant dynamics processors one at a time, compensating for loudness differences. If impact returns, reduce the amount of gain reduction or reconsider attack and release. A slower attack may preserve more initial articulation, but the best setting depends on the processor and source.
Also check several stages together. A track compressor, group compressor and master limiter may each appear mild while their combined effect substantially reduces contrast. The correct fix may be removing one stage rather than changing all three.
Compression fundamentals will help you connect the controls to the movement you hear.
Do not remove all body in pursuit of separation
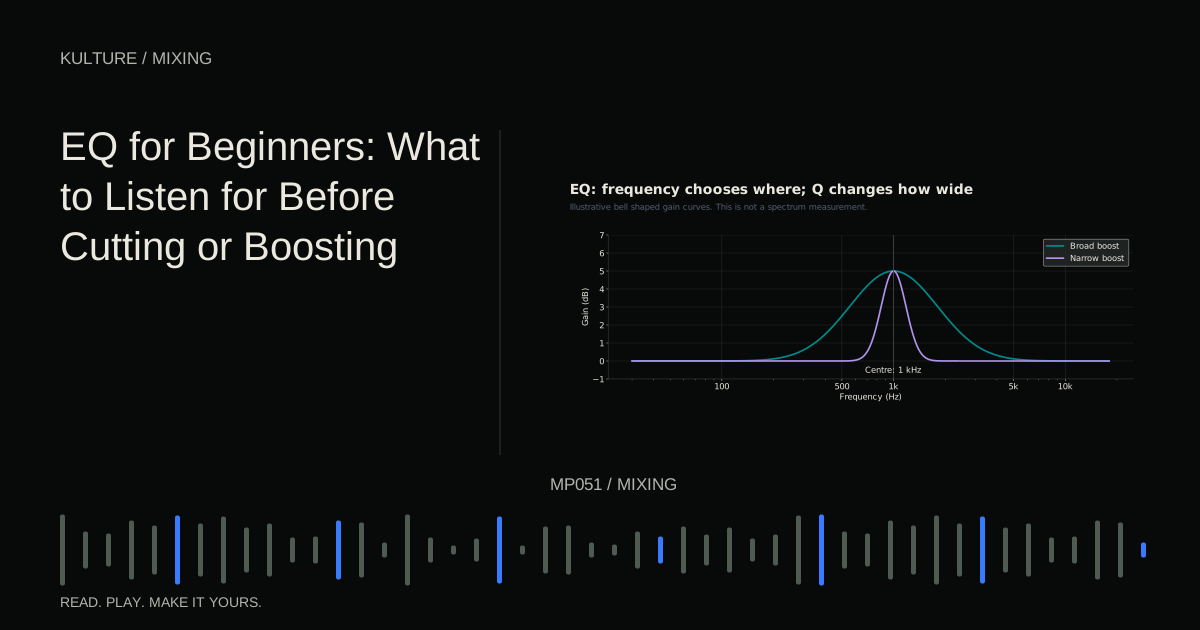
A mix can become thin after many EQ cuts. Each instrument may sound clean, yet the combined arrangement has lost warmth and continuity. Bypass all corrective EQ on one group and compare at similar loudness.
Restore the bands that were added without a specific audible reason. If two parts still compete, consider level, voicing or timing changes. You do not need to carve a completely isolated frequency territory for every instrument.
Similarly, a lead with excessive high pass filtering may have plenty of apparent detail but no emotional weight. Lower the cutoff or choose a gentler slope and listen to the whole phrase. Useful body is not automatically mud.
Create depth with unequal treatment
If every instrument has the same bright tone, short attack and dry presentation, the mix can feel like a flat row of objects. If every instrument has the same large reverb, it can become a distant wash.
Choose a foreground element and keep its important articulation clear. Place a supporting layer farther back with lower level, darker tone or more diffuse space. These are listening choices rather than literal distance measurements.
Try a short shared reverb on drums and a separate longer atmosphere on a background pad. Keep the lead mostly dry initially. Compare the sense of depth before increasing any wet level. A small difference between roles can be more effective than dramatic effects on every track.
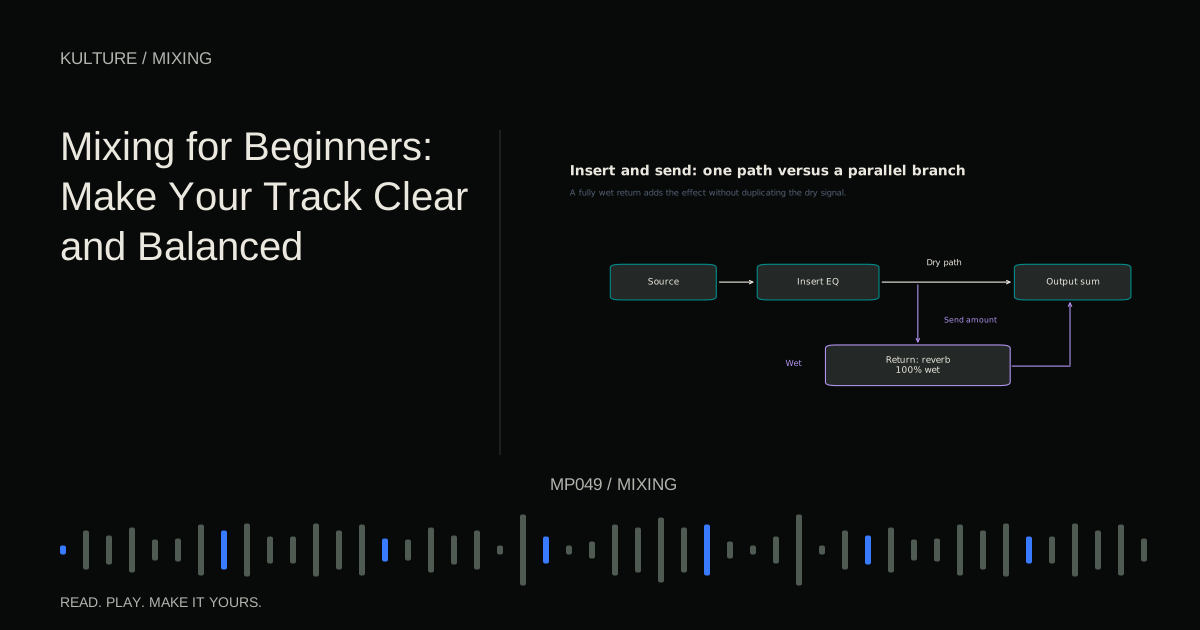
Use reverb principles to distinguish the initial reflections, tail and separation from the dry sound.
Add movement where the listener has room to notice
Automation records parameter changes over time. It can be as simple as raising a quiet phrase slightly, opening a filter during a build or sending only the final word into a delay.
For a concrete exercise, use an eight bar section. Keep the first four bars unchanged. In bars five and six, gently open a supporting synth’s filter. In bar seven, reduce a background layer. On the final note of bar eight, add a delay send and let it lead into the next section.
Listen without watching the automation lanes. If the transition feels more purposeful, the changes are doing useful work. If you only notice the effects themselves, reduce their depth or simplify the sequence.
Do not automate continuously merely to create activity. A stable section can make a later change more meaningful. Movement needs a reference point.
Evaluate loudness fairly
A louder version often appears fuller and more exciting. Match the processed and unprocessed versions as closely as practical before deciding whether saturation, compression or limiting adds life.
If the processed version feels smaller at equal loudness, it may be trading dynamics for density. That trade can be appropriate, but it should be intentional. A dense style still benefits from contrast within the limits of its sound.
For practice, make three improvements without adding any new plugin: one performance edit, one arrangement contrast and one automation move. Export a short before and after comparison at similar loudness. Then add only the processing still needed. Return to the beginner mixing guide to integrate those decisions into a complete mix.
TAKE IT INTO YOUR OWN MUSIC
Your next session.
A louder version often appears fuller and more exciting. Match the processed and unprocessed versions as closely as practical before deciding whether saturation, compression or limiting adds life.
Notes and progress stay in this browser.