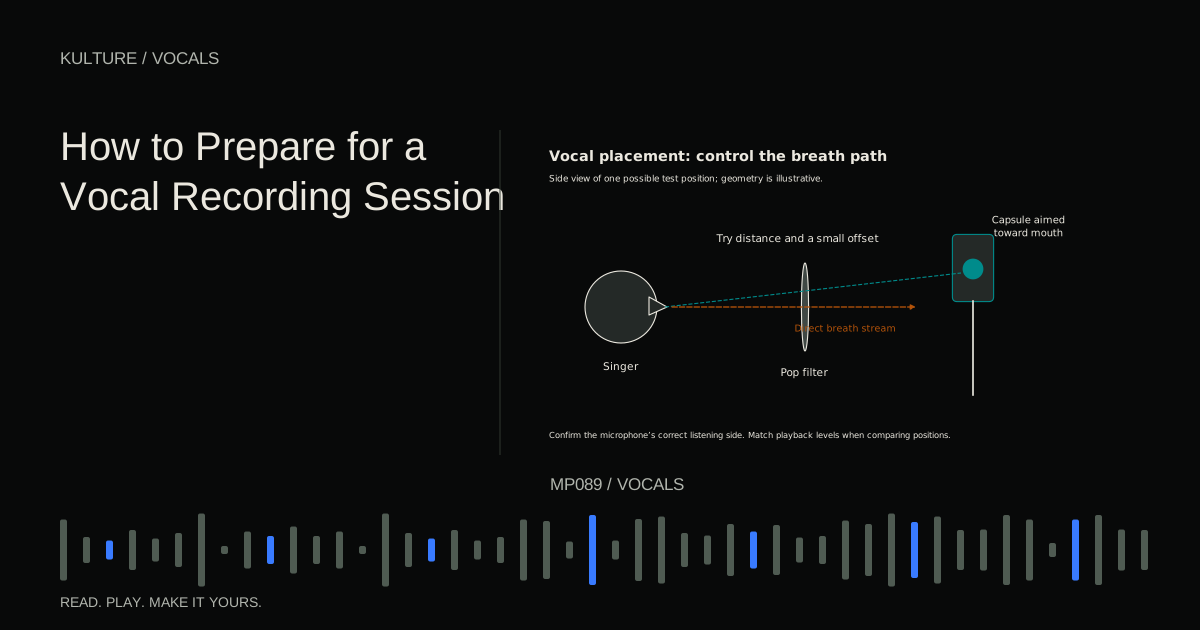
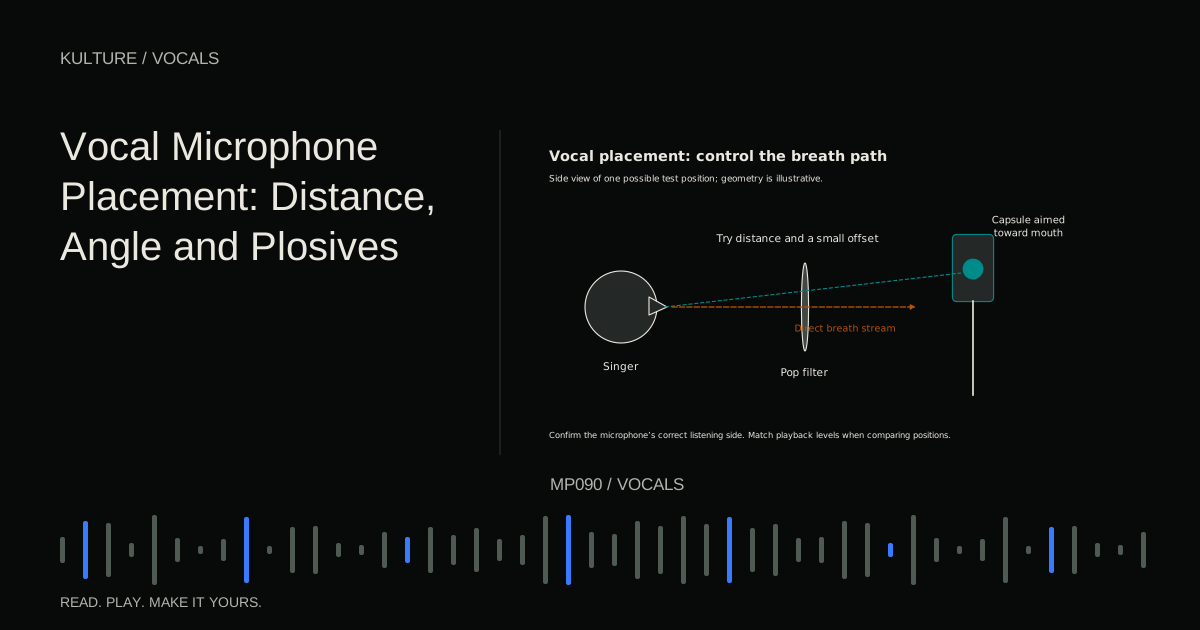
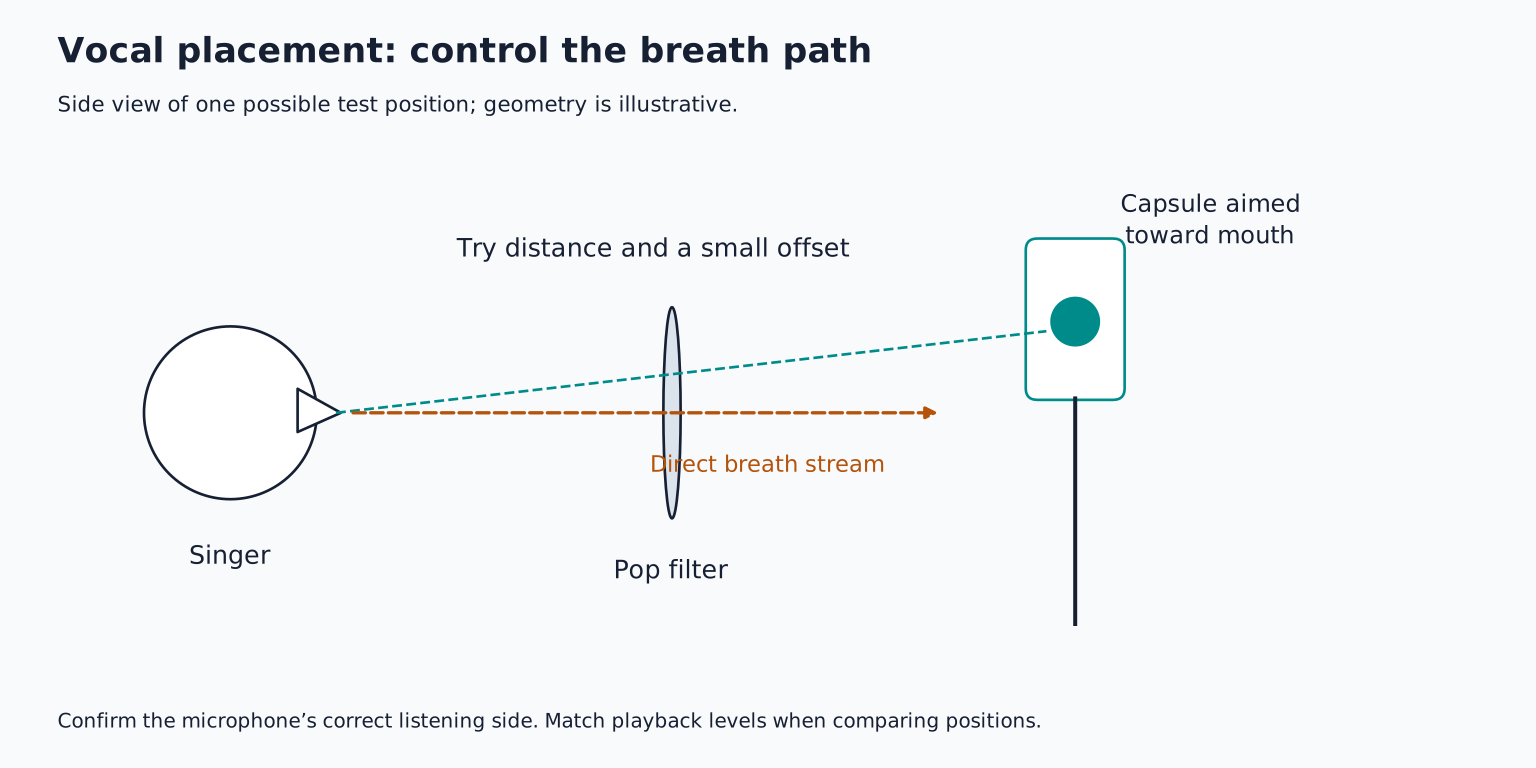
A useful starting test is a microphone around 15 to 20 centimetres from the singer, a pop filter between them, and the capsule aimed toward the mouth. That is a test position, not a universal optimum. A close stage microphone, a quiet intimate vocal, and a powerful studio performance may all call for different distances.
First, find the microphone's listening side
End address microphones are normally aimed along their body toward the sound. Side address microphones receive the intended front sound through the side of the grille. The logo is sometimes a clue, but the manual is the reliable source.
A microphone turned backward can produce a quiet, dull, roomy recording. Raising gain may make it louder without correcting the tonal problem. Before comparing tiny angle changes, verify the basic orientation and selected polar pattern.
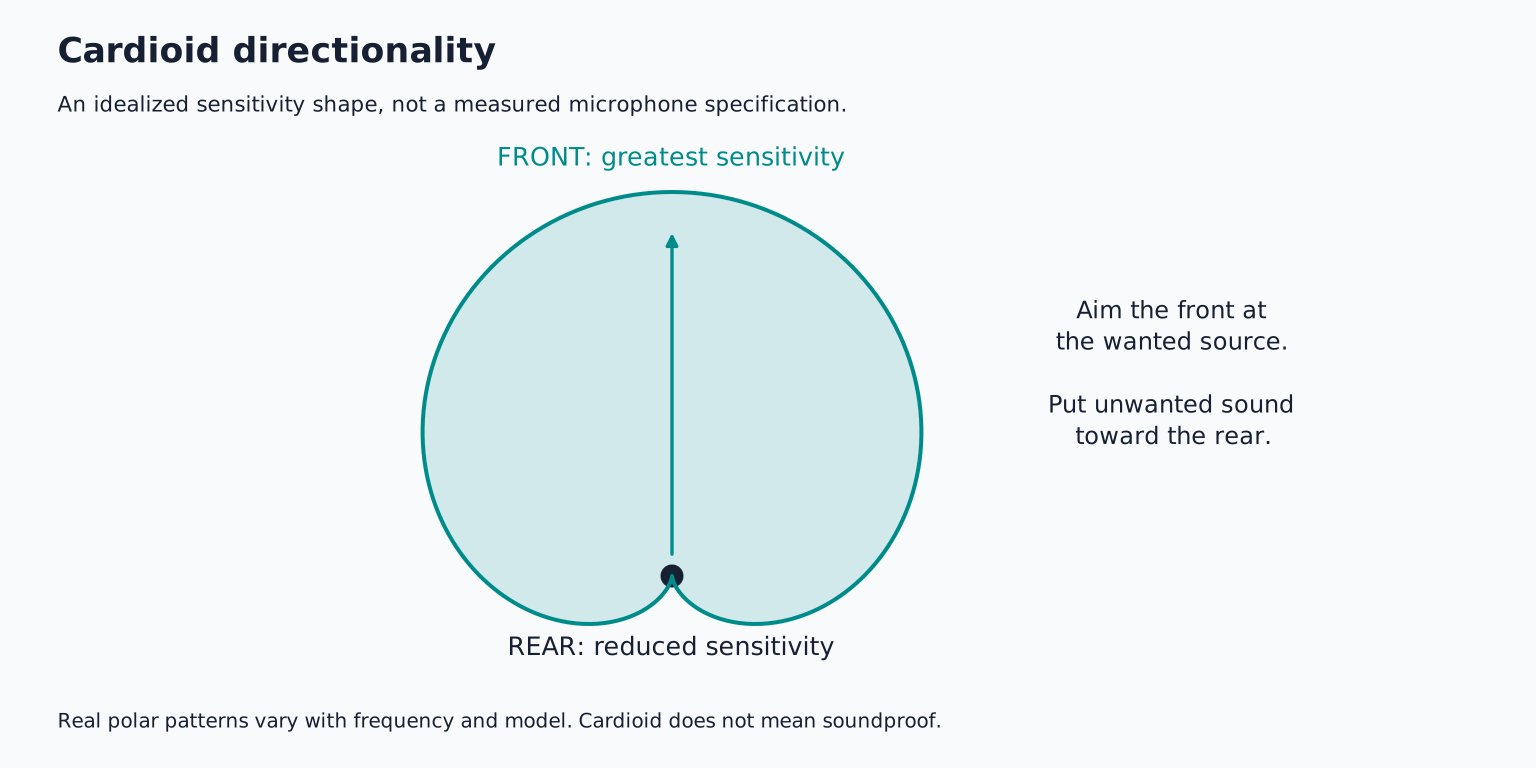
The polar pattern describes directional sensitivity. A cardioid favours the front and generally rejects the rear. That rear rejection can help with an unwanted source, but reflections arriving from other directions still matter. A microphone does not create a soundproof bubble around the singer.
TRY IT HERE
Move the listening position
Explore geometry, not a measurement of your actual room.
Ready when you are. Audio starts only when you press Play.
Keep experimenting in the sample pads LabUse distance to balance intimacy and consistency
Closer placement often increases the direct voice relative to the room. With many directional microphones, it also increases bass through proximity effect. Farther placement often captures more room and gives small head movements a less dramatic effect on level and tone.
Too close can mean heavy low frequencies, breath noise, and large changes whenever the singer moves. Too far can mean a thin or distant voice with more room reflections. The right balance depends on the microphone, singer, arrangement, and space.
Shure's SM58 guide provides model specific placement and tone information; its distances should not be copied blindly to every studio microphone. The broader lesson is to test the actual combination you own.
Make a three distance comparison
Record the same two line phrase at three workable distances, such as 10, 20, and 30 centimetres. Use a phrase containing a held vowel, a quiet word, an s sound, and a p or b. Maintain the same comfortable posture and performance intensity.
Set gain safely for each test if necessary, then match playback loudness afterward. Otherwise the closest recording may appear better simply because it is louder. Listen with the backing track as well as alone.
Choose the version that preserves the voice's body without excessive bass and keeps the lyric clear without too much room. If the closest version feels intimate but unstable, a slightly farther position may be a better compromise than relying on heavy processing later.
Mark the chosen position so subsequent takes remain comparable. A pop filter can provide a visual distance cue, but the singer should not be forced to press against it.
Angle the airflow away from the capsule
Plosives are bursts of air from certain consonants. They can create a low frequency thump or overload the microphone briefly. Pointing the mouth directly at the diaphragm can make them worse.
Try moving the microphone slightly to one side while still aiming it toward the mouth, or turning it modestly off axis. Off axis means the sound arrives away from the microphone's central front direction. Start with a small change and compare tone; a large angle can make some microphones sound dull or uneven.
A pop filter interrupts the airflow before it reaches the capsule. Leave useful space between filter and microphone rather than pressing the filter against the grille. Test the singer's strongest plosive words at performance intensity. Shure's vocal guide discusses pop filtering as a recording stage solution.
Height affects comfort and tone
Try the capsule near mouth height first. A slightly higher position aimed downward may reduce direct breath exposure for some singers; a lower position may produce a different tonal balance. Neither is an automatic improvement.
Keep the head and neck comfortable. Do not insist that a singer lift their chin or bend toward the microphone because a diagram suggests a fixed height. Position the equipment around the performer. If looking at lyrics changes the head angle, move the lyric display and microphone together.
Watch during the take. A singer may turn toward the screen on difficult words or lean forward in the chorus. Those movements can matter more than a carefully measured initial distance.
Sibilance needs a separate test
Sibilance is the high frequency energy in sounds such as s, sh, and sometimes t. It is different from a low frequency plosive. A pop filter may not solve it.
Try a small angle or height change and compare the actual harsh words. Listen for whether the rest of the vocal becomes dull. If one placement softens s sounds while preserving vowels and intelligibility, it may reduce later de essing work.
Some combinations of voice and microphone remain sibilant. That does not mean the singer is wrong or the mic is unusable. A different mic, subtle editing, or a de esser may be appropriate. Avoid repeatedly boosting high frequencies during monitoring and then blaming the raw recording for the resulting sharpness.
Use the room and polar pattern together
Identify the loudest unwanted sound: a fan, window, reflective wall, or another instrument. Move or quiet the source where possible. Then orient the microphone's rejection direction sensibly, checking the specific polar pattern.
For a cardioid vocal mic, sound reflected from behind the singer can travel toward the mic's front. Treating only the wall behind the microphone may therefore miss an important reflection path. Test absorption placement with short recordings rather than assuming a small shield fixes the room.
Do not pack the singer into an unsafe or uncomfortable enclosure. Acoustic treatment controls reflections; it does not necessarily stop traffic or neighbours. Acoustic treatment versus soundproofing explains that distinction.
Manage movement without freezing the performance
A singer can learn to move back slightly for a strong phrase, but the movement should be rehearsed. Distance changes tone as well as level. A sudden retreat may make the chorus smaller and roomier when you wanted it more powerful.
Alternatively, keep a reasonably consistent position and leave adequate input headroom. Use clip gain and automation later for broad level differences. The right choice depends on how the performer naturally works and how much tonal change suits the song.
For comping, consistency helps. If a replacement line is recorded days later, note the mic, pattern, distance, angle, room position, and gain conditions. A photo can help recreate the geometry, though the performance still determines the result.
Your placement exercise
Choose one short lyric and record three distances, then two small angle variations at the best distance. Match playback level and write one useful observation per take. Select a position based on clarity, body, manageable plosives, and a comfortable performance.
Do not add EQ until you have chosen the position. Then record a full section to check whether it stays consistent beyond the test phrase. Continue with vocal cleanup for the occasional distractions that remain after a good capture.
TAKE IT INTO YOUR OWN MUSIC
Your next session.
Choose one short lyric and record three distances, then two small angle variations at the best distance. Match playback level and write one useful observation per take. Select a position based on clarity, body, manageable plosives, and a comfortable performance.
Notes and progress stay in this browser.