Start by changing the final beat of a phrase, not the entire bar. Preserve the groove before the fill and make the return afterward clear.
Decide what the fill is announcing
A fill before a chorus may need more energy than a small variation halfway through a verse. A fill before a breakdown might reduce activity rather than increase it. Ask what changes after the fill: section, texture, harmony, vocal phrase or simply the next repetition.
If nothing changes, the fill can still be decorative, but it should not promise an enormous arrival that never happens. Match its scale to the event it introduces.
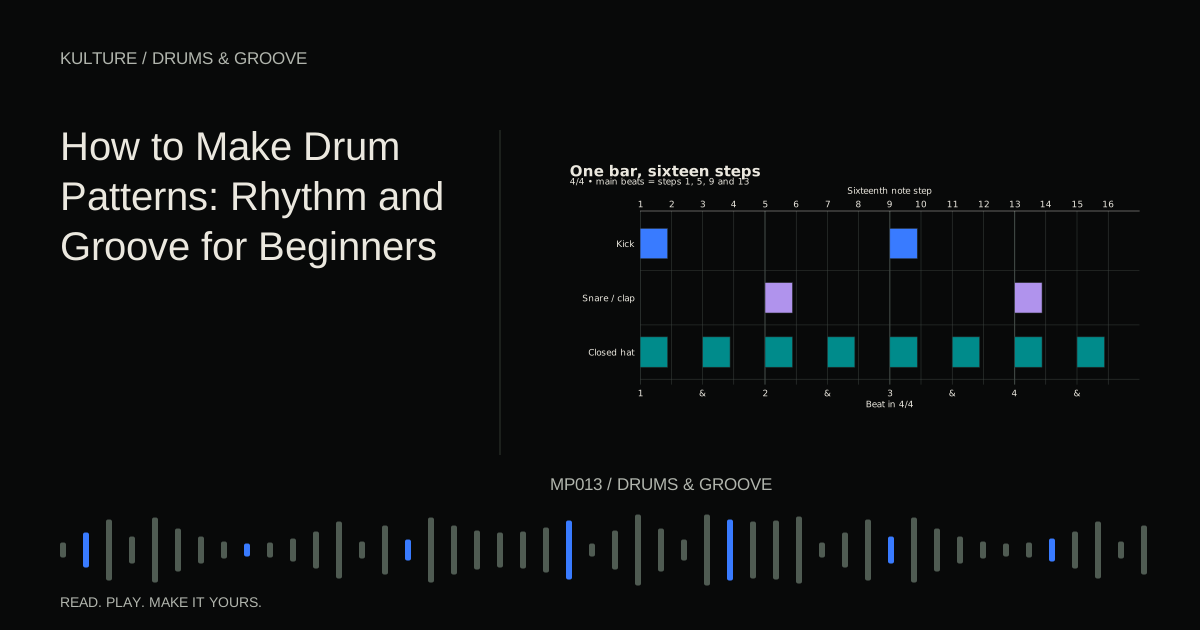
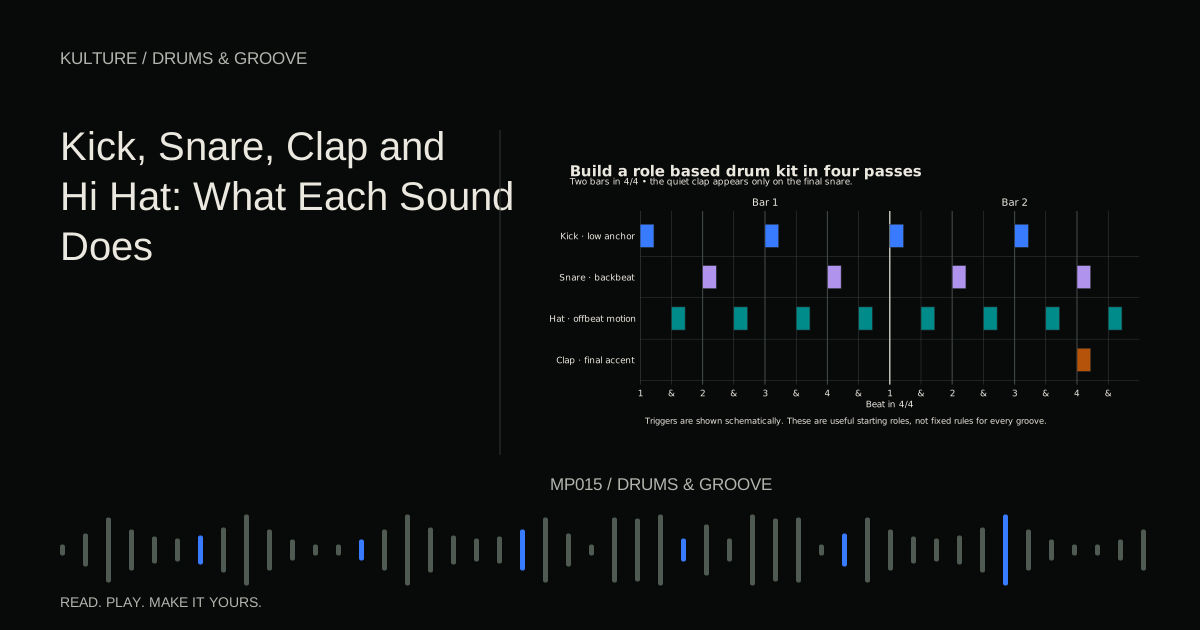
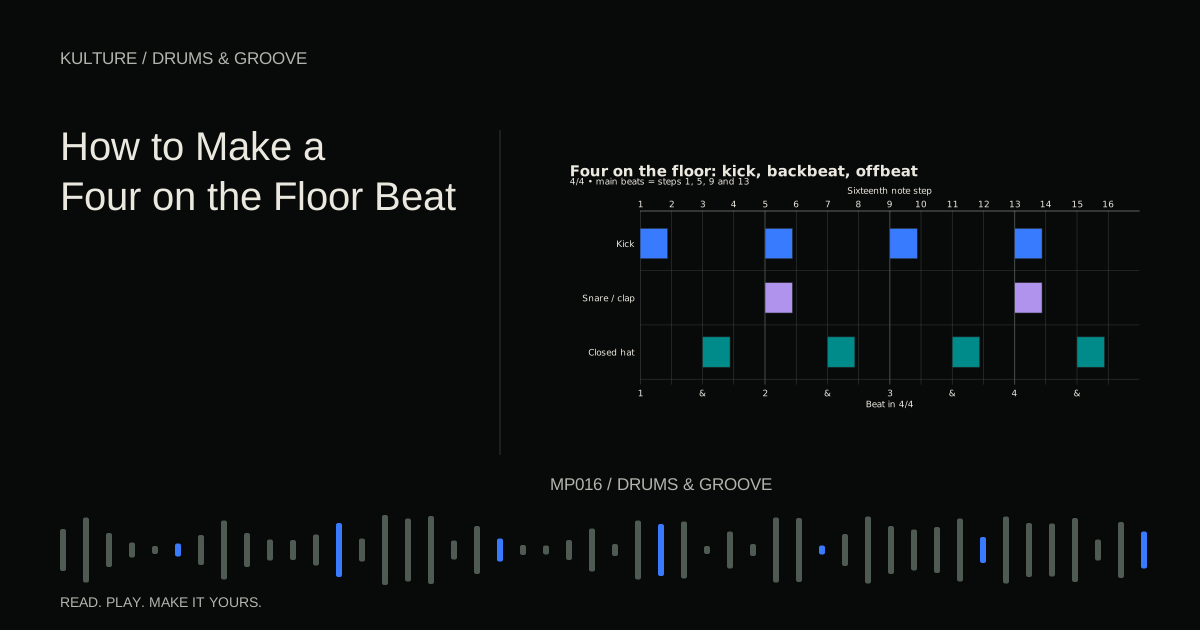
Create an eight bar loop with a simple kick, snare and hat pattern. Use 4/4 at 100 BPM for the examples. Put snares on beats 2 and 4, and leave the first seven bars unchanged while you develop the ending.
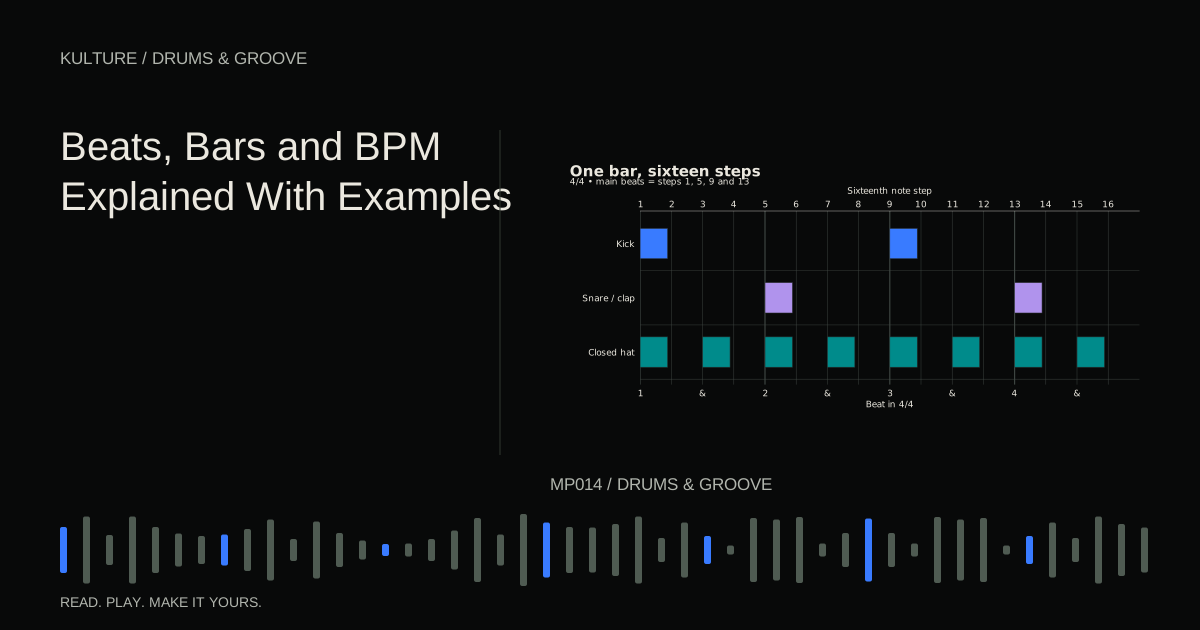
Ableton's bars lesson provides a clear reference for grouping beats into phrases. If counting is uncertain, use Beats, Bars and BPM before programming fast subdivisions.
TRY IT HERE
Find the pocket
Tap the grid, change the tempo and hear your pattern.
Ready when you are. Audio starts only when you press Play.
Keep experimenting in the beat maker LabFill one: remove before adding
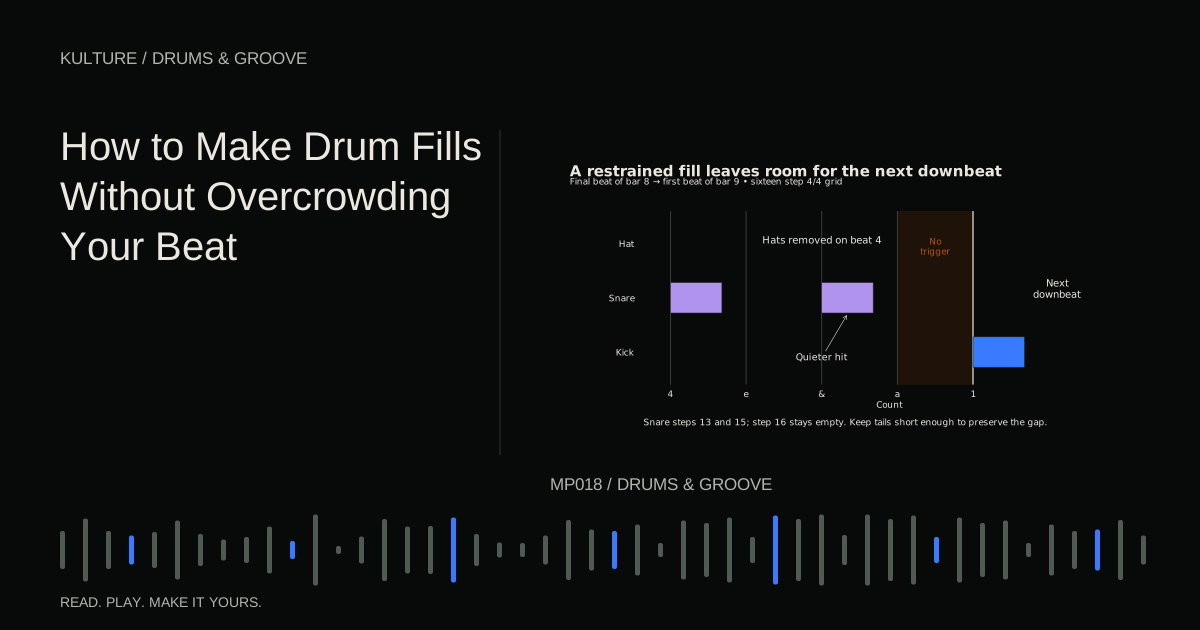
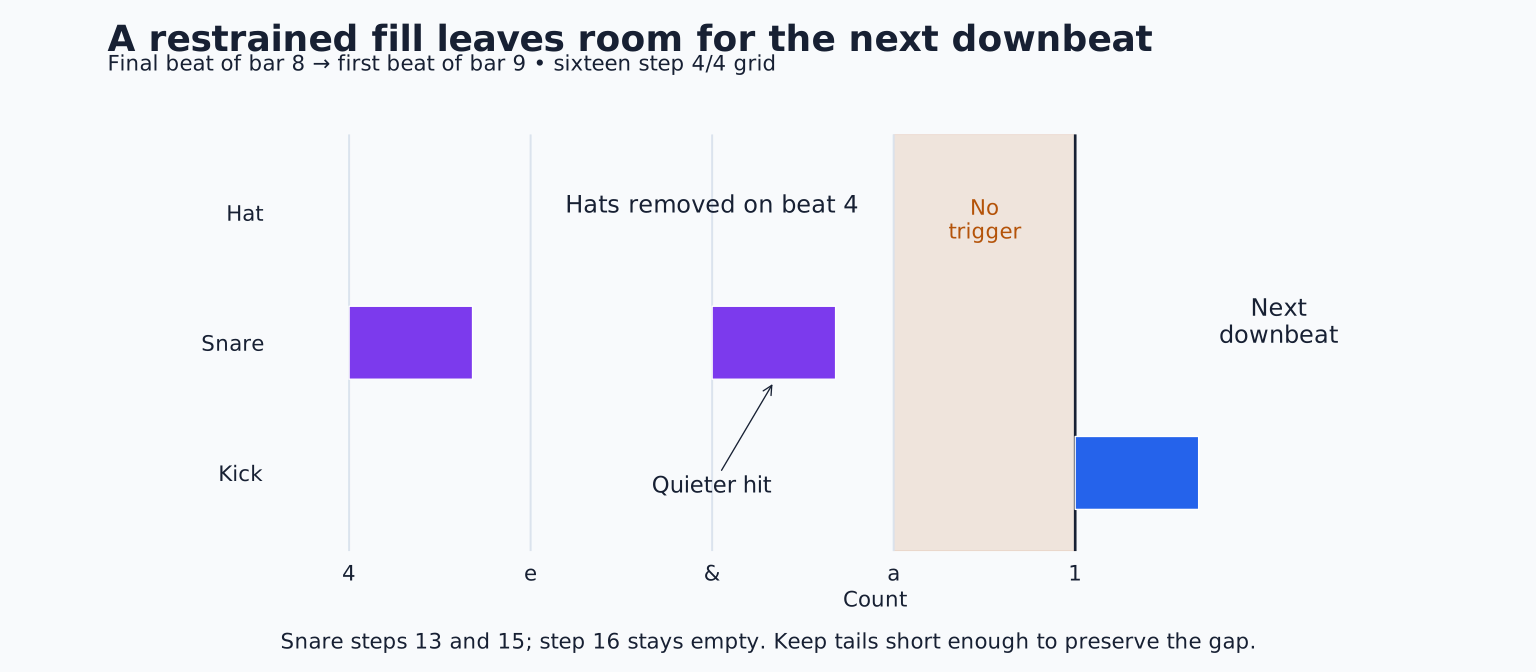
In bar 8, remove the hats from beat 4 onward. Keep the main snare on beat 4. Add one quieter snare on the “and” of beat 4 and leave the final sixteenth empty.
Count “4, e, and, a.” The main snare lands on 4, the extra snare on “and,” and silence occupies “a.” That final space makes the next bar's kick easier to perceive.
On a sixteen step grid, the hits are steps 13 and 15, with step 16 empty. Listen from bar 7, not only from the start of the fill. The contrast depends on hearing the established groove first.
If the extra snare sounds accidental, make its level more clearly subordinate or choose a slightly different articulation. If it sounds too busy, remove the main hat earlier so the fill has room.
Fill two: a short acceleration
Try another ending using snare hits on beat 3, the “and” of beat 3, beat 4, the “e” of beat 4 and the “and” of beat 4. Leave the last sixteenth silent again.
In step numbers, use 9, 11, 13, 14 and 15. The first events are eighth notes apart; the later events are sixteenths apart. This creates acceleration without changing the project tempo.
Shape the accents. You might start moderately, reduce the middle hit slightly, and emphasize the first hit of beat 4. A mechanically rising velocity ramp is one option, but it is not the only musical shape.
Check the snare's tail. Five long samples can overlap into noise, especially if the instrument allows multiple voices. Shorter articulation or a more suitable sample may keep the acceleration legible.
Fill three: move across sounds
Use three tom or percussion pitches, with a higher sound on beat 3, a middle sound on the “and” of beat 3 and a lower sound on beat 4. Leave the rest of the bar open.
The descending contour can make the fill feel like a gesture rather than a repeated roll. Choose sounds that belong together in tone and ambience. A high metallic hit followed by a huge cinematic tom may create an unintended change of world.
You do not need to tune every percussion hit to the song. If a tom has a strong sustained pitch that clashes with the harmony, audition a different tuning or sample. If its pitch is vague and the gesture works, forcing exact tuning may be unnecessary.
Compare this fill with the snare acceleration at the same overall level. The tom version may feel larger despite containing fewer events because the changing timbre and register create motion.
Keep a rhythmic reference
During a busy fill, a steady element can preserve orientation. You might leave the kick on beat 1 and beat 3, or retain a quiet hat pulse while the snare varies. Alternatively, remove everything briefly and rely on the listener's established sense of time.
The more surprising the fill's subdivisions, the more useful a clear return becomes. Put the next section's first important event where intended and listen across the bar line. A fill that sounds impressive alone can fail if its last tail masks that arrival.
Do not shift the next downbeat merely to accommodate an overlong fill unless that rhythmic displacement is a deliberate compositional choice. Usually, editing the fill is simpler and more effective.
Let the other parts participate
A fill does not have to be a solo drum performance. Shorten the bass before it, hold the chord through it or leave a vocal gap around it. These arrangement decisions can create space without reducing the fill's level.
If the vocal has a crucial lyric at the end of the phrase, a dense snare roll may compete for attention. Try a kick dropout and one open hat instead. The transition remains audible while the lyric retains priority.
If the bass adds a slide at the same moment, choose whether the drums should support that gesture or answer it. Two elaborate fills at once often communicate less than one clear lead event with a restrained response.
Repetition makes fills meaningful
A fill is perceived against a stable pattern. If every bar contains a different roll, there may be no baseline from which to depart. Establish enough repetition for a small change to register.
Try one fill at the end of bar 4 and a related but slightly stronger version at bar 8. For example, bar 4 uses two snare hits, while bar 8 uses the same rhythm plus a low tom on beat 3. The relationship helps the phrase feel organized.
Ableton's beat making playground is useful for testing how adding and removing individual events changes a repeated pattern. For broader variation choices, see Swing, Velocity and Timing.
Troubleshoot crowded fills
If the fill sounds louder rather than more exciting, reduce overlapping tails and lower supporting hits. If it loses the pulse, simplify its rhythm or restore one reference element. If the transition feels late, check sample start times and the duration of the last hit.
If the fill repeats too obviously, vary its ending on every second occurrence rather than replacing the entire phrase. If it sounds disconnected from the kit, use an existing snare or hat before searching for additional samples.
Also check the silence afterward. A tiny gap can create anticipation, but an accidental gap caused by a misplaced clip can make the arrangement stumble. Count through it and decide whether the length is intentional.
Your eight bar exercise
Create three versions of bar 8: subtraction, acceleration and descending percussion. Listen to each from bar 1 through the next section's first two bars. Choose the version that best explains the transition, not the one with the most notes.
Then remove one event from the chosen fill and listen again. If the result improves, keep the simpler version. Return to How to Make Drum Patterns when you need to strengthen the groove that gives the fill its context.
TAKE IT INTO YOUR OWN MUSIC
Your next session.
Create three versions of bar 8: subtraction, acceleration and descending percussion. Listen to each from bar 1 through the next section's first two bars. Choose the version that best explains the transition, not the one with the most notes.
Notes and progress stay in this browser.