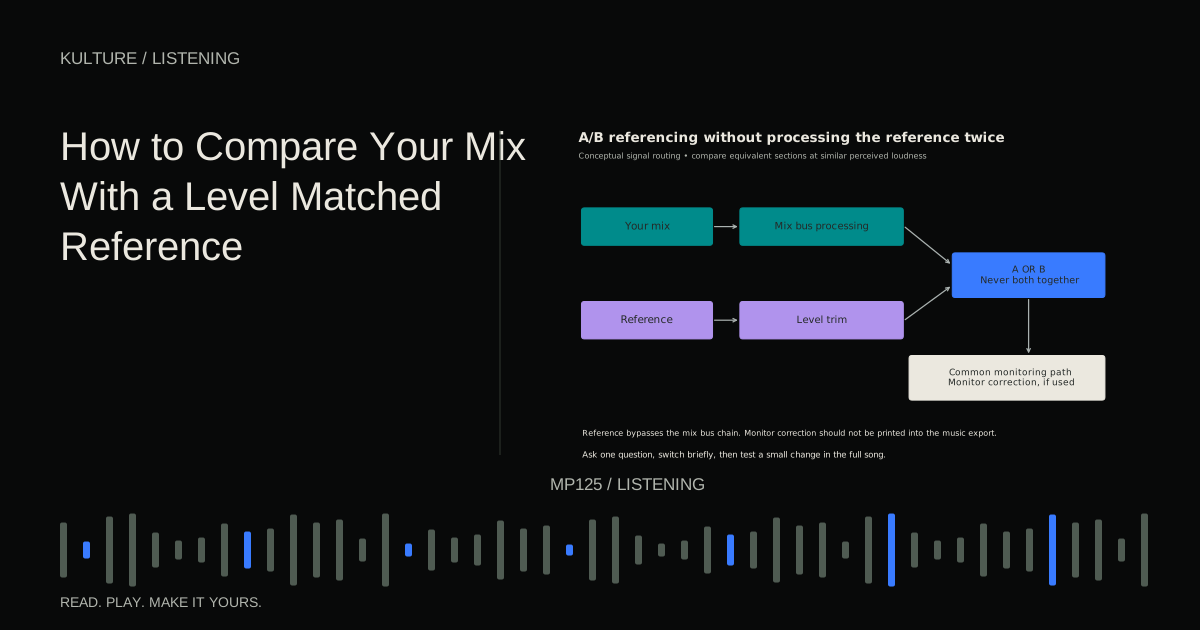
The reference is a guide to a specific musical aim. It is not a demand to copy every bass level, stereo choice, or meter reading. Before importing anything, decide what you want to learn: vocal placement, low end balance, drum punch, or the amount of ambience.
Choose a comparison that answers your question
Use a recording with comparable instrumentation and energy. A dense chorus should usually be compared with another dense section, rather than a sparse introduction. If your track intentionally has softer drums, a reference built around huge percussion may be useful for clarity but unsuitable as a drum level target.
Choose a legitimate, good quality playback copy. A heavily compressed preview or a recording captured through a phone adds variables. Do not distribute reference files with collaboration packages unless you have permission; a title, link, and timestamp usually communicate the idea.
Write down the specific feature: “At 1:08, the vocal remains understandable when the guitars get louder.” This is far more actionable than “make mine sound like this.”
TRY IT HERE
Find the frequency
Move a bell filter through a harmonic tone and compare bypass.
Ready when you are. Audio starts only when you press Play.
Keep experimenting in the piano LabSet up routing that does not process the reference
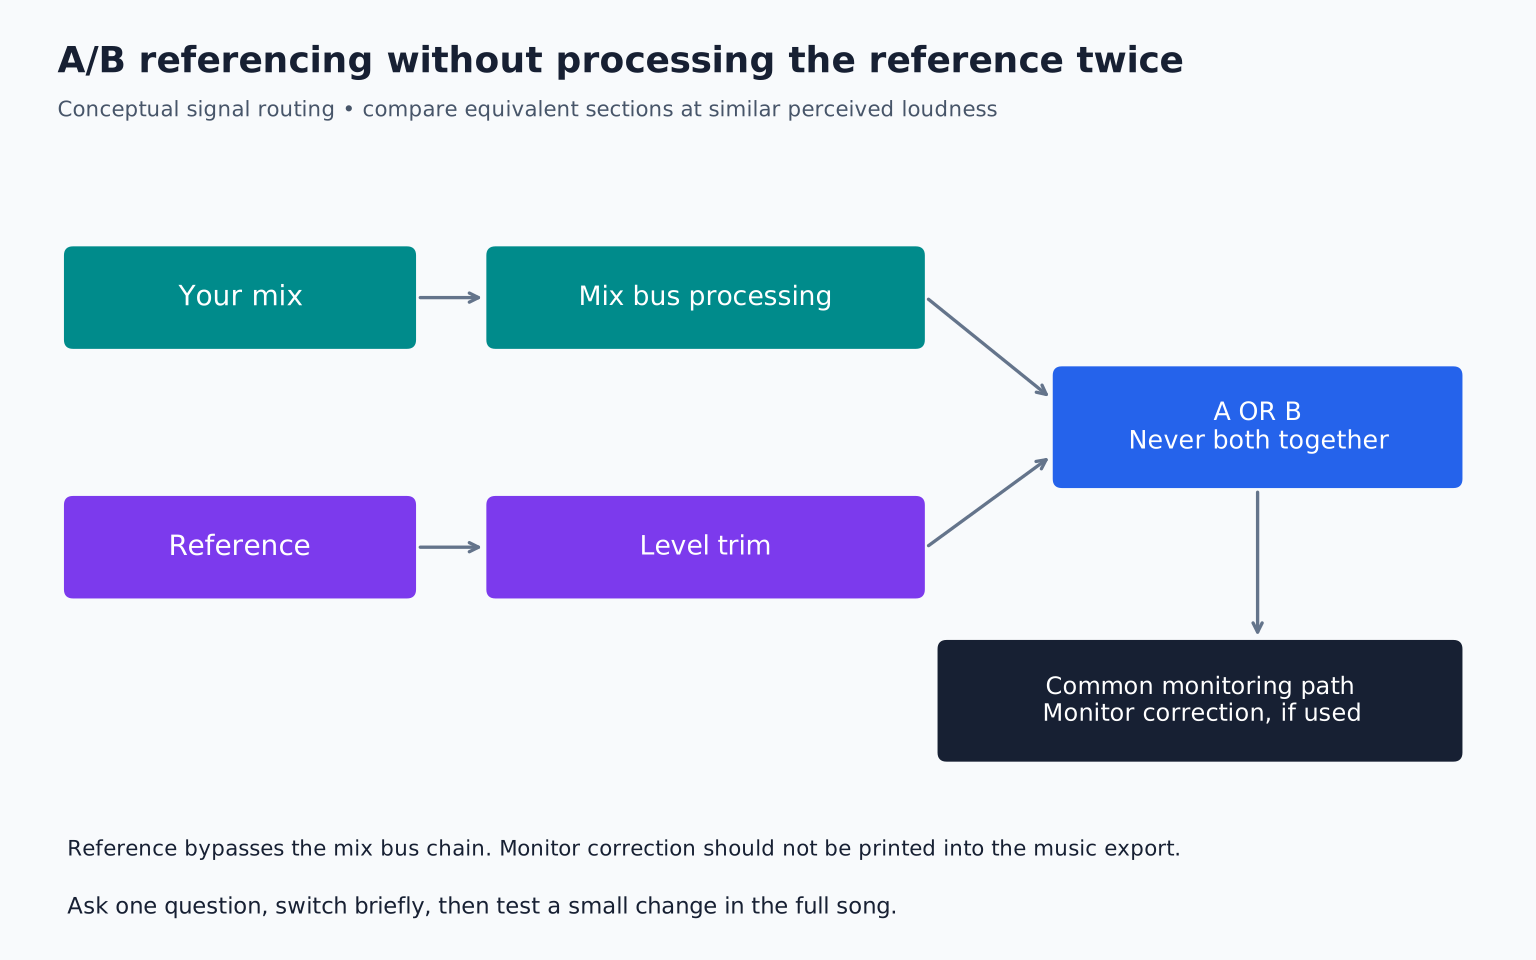
Your mix may pass through EQ, compression, limiting, or other processing on the master bus. A bus is a shared signal path. If you import the reference onto an ordinary track that feeds this same chain, you will process an already finished recording again.
Create an audition path that bypasses your mix processing while still using the same monitoring output. Depending on your DAW, this may be a separate output route, a reference plugin, or a dedicated monitoring setup. Check the manual rather than assuming a solo button bypasses master effects.
Test the routing with a conspicuous temporary EQ change on your mix bus at a low listening level. Your mix should change; the reference should not. Remove the test EQ afterward. This simple check is more reliable than trusting track labels.
Make switching mutually exclusive. You want mix or reference, not both playing together. Keep monitor correction, if you use it, on the common listening path so both are heard through the same correction. Monitor correction should not accidentally become part of the exported audio.
Match the section before matching the number
Locate equivalent sections, such as the main chorus in both songs. Loop a representative passage long enough to include several drum hits and a vocal phrase. Ten to twenty seconds is often useful, but musical context matters more than a fixed duration.
Start with your mix at its working level. Turn down the reference until the switch does not produce an obvious loudness jump. It is generally easier to attenuate a finished commercial master than to push an unfinished mix into clipping.
A loudness meter can help. LUFS, or loudness units relative to full scale, estimates program loudness using a standardized method. ITU R BS.1770 defines the underlying loudness and true peak measurement algorithms. The number is evidence, not a replacement for listening.
For an illustrative calculation, suppose comparable sections measure around -10 and -16 LUFS. Lower the louder section by roughly 6 dB, then refine by ear. Do not normalize both to the same peak: two recordings with equal peaks can have very different average loudness.
Keep the listening test short and focused
Switch every few seconds while listening for one property. For bass, ask whether you can follow individual notes and distinguish them from the kick. For the vocal, ask whether important words remain audible. For transients, listen to the leading edge of snare or percussion hits.
After two or three switches, stop. Write the difference in plain language. Then return to your mix and try the smallest useful change. Repeating a twenty minute A/B loop can make every difference feel like a defect, including deliberate artistic differences.
A useful comparison note is: “My bass sustains through the spaces between kicks, while the reference leaves gaps.” The next experiment might involve shortening bass notes or changing their envelope. A less useful note is: “The reference has better bass,” followed by a large low frequency boost.
A complete practical example
Imagine an original synth pop chorus with a kick, bass, pad, and vocal. The reference feels clearer, but it is also louder.
First reduce the reference by 5 dB as an initial match. After switching, you notice that its vocal is not actually brighter; its accompaniment is less dense during the lyrics. In your session, lower the pad slightly only during vocal phrases using automation, which is a recorded change in a control over time.
Compare again at matched level. If the words become clear without making the chorus thin, the experiment helped. If the pad loses the song's atmosphere, restore some level and try a different voicing or shorter notes instead. The reference has guided a musical diagnosis rather than supplied an EQ preset.
Finally listen through the transition into the chorus. A change that improves the isolated loop may weaken the song's build. Always return to context.
Avoid three misleading comparisons
Full track average versus a short loud section: An integrated reading includes the measured span. A long quiet intro can lower a song's full track number without telling you how loud its chorus is. Compare equivalent spans and reset meters appropriately.
Streaming playback versus a DAW file without checking settings: Playback normalization can change level. Spotify's normalization explanation describes playback adjustment and device differences. Do not assume the same reference has identical loudness in every app.
Stereo width without checking mono: A reference can feel wider because its arrangement has fewer central parts. Before widening your entire mix, listen in mono and inspect the source of the difference. Wider is not automatically clearer or more compatible.
When the reference seems impossible to match
Check whether the difference is performance, arrangement, or sound selection before blaming mastering. A sharply played bass with short notes cannot be reproduced merely by applying more limiting to a sustained patch. A clear vocal may owe more to phrasing and editing than to extra treble.
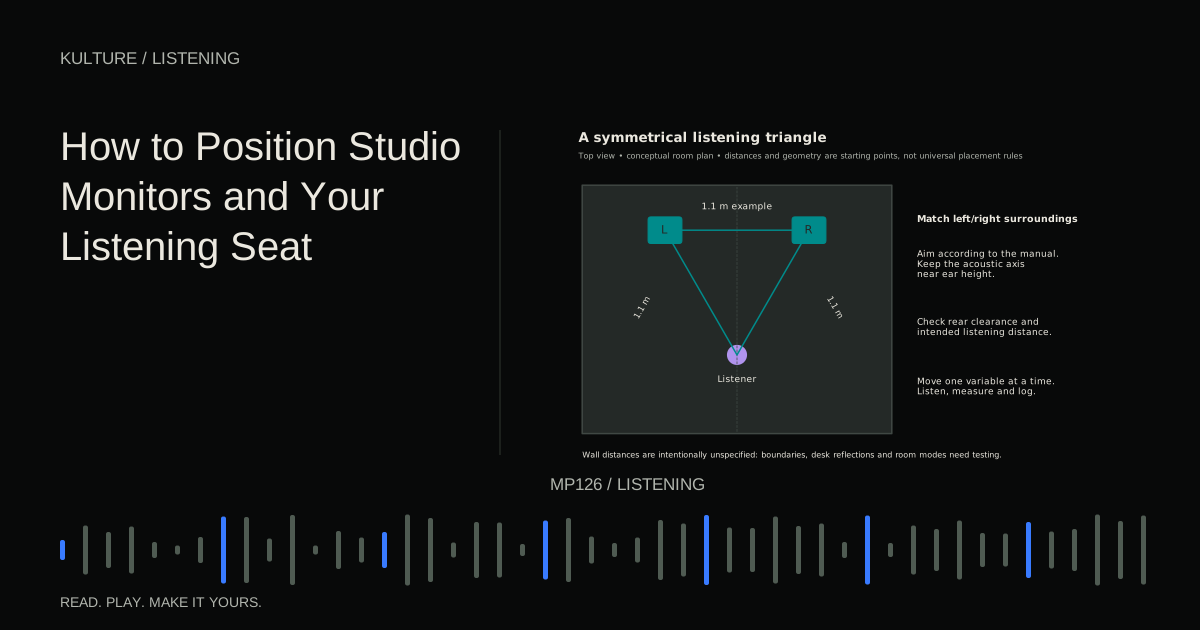
Also check the listening system. If the bass comparison changes dramatically when you move your chair, follow room measurement and prioritization. Do not redesign the mix to satisfy one unstable listening position.
For your next exercise, select one reference and write three timestamped observations. Level match its chorus to yours, make one change, and save both versions. Revisit them after a break. Continue with LUFS, true peak, and crest factor when you want to understand what the meters are actually measuring.
TAKE IT INTO YOUR OWN MUSIC
Your next session.
Imagine an original synth pop chorus with a kick, bass, pad, and vocal. The reference feels clearer, but it is also louder.
Notes and progress stay in this browser.